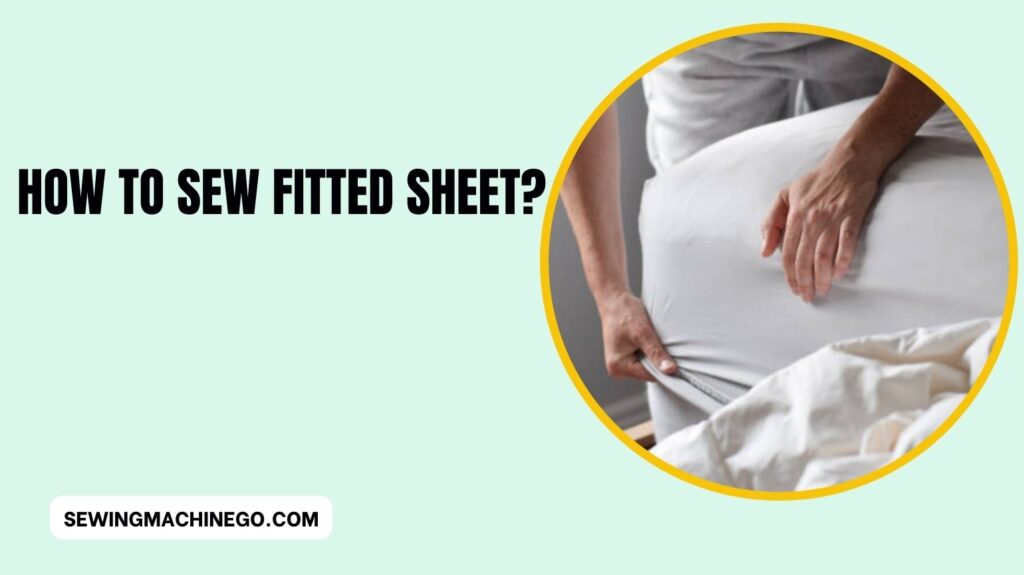
How to Sew Fitted Sheet? (Easy Step Guide) Of 2023
Making a fitted sheet may seem like a daunting task, but with the right guidance, it can be a rewarding and practical endeavor.
How to Sew Fitted Sheet? Whether you’re a seasoned seamstress or a novice with a sewing machine, creating your fitted sheets allows you to personalize your bedding and ensure a perfect fit.
In this comprehensive guide, we’ll take you through each step, from choosing the right fabric to troubleshooting common issues.
How to Sew Fitted Sheet?
Fitted sheets play a crucial role in providing a snug and secure fit for your mattress, preventing wrinkles, and ensuring a comfortable night’s sleep.
If you’ve ever wondered about the secrets behind crafting the perfect fitted sheet, you’re in the right place. This guide will walk you through the process, offering valuable tips and insights to make your sheet-making experience enjoyable and successful.
Choosing the Right Fabric

The journey to a well-fitted sheet begins with selecting the right fabric. Consider factors such as thread count, breathability, and durability.
Cotton, jersey, and linen are popular choices, each offering unique qualities that contribute to the overall feel and longevity of your sheets.
Taking Accurate Measurements
Precision is key when it comes to making fitted sheets. Before you embark on the sewing process, take the time to measure your mattress accurately.
Armed with the correct measurements, you’ll be better equipped to create a sheet that fits like a glove.
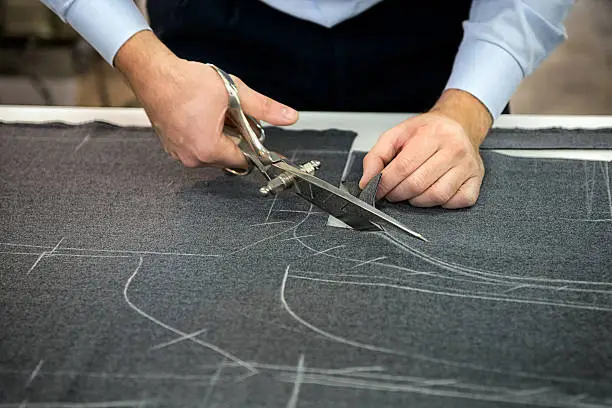
Cutting the Fabric
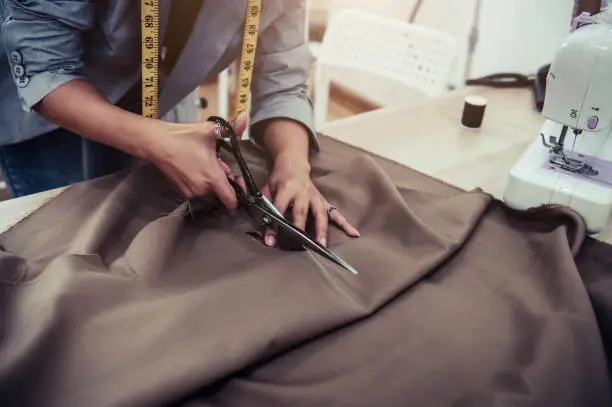
Once you have your measurements, the next step is cutting the fabric. Lay it out carefully, avoiding common pitfalls like uneven cutting or incorrect sizing. Taking your time during this step ensures a smooth process moving forward.
Elastic Placement and Sizing
Elastic is the unsung hero of fitted sheets, providing the necessary tension to keep everything in place. Understand the importance of elastic placement and sizing to avoid a loose or overly tight fit.
Sewing Corners and Seams
Achieving perfectly sewn corners is a skill worth mastering. This section will guide you through the techniques required for seamless corners and strong, durable seams.
Adding Reinforcements
To enhance the longevity of your fitted sheets, consider reinforcing stress points. Learn where and how to add extra layers of fabric for increased durability.
Creating a Neat Hem
A clean and professional-looking hem is the hallmark of a well-made fitted sheet. Discover tips and recommended stitch types to achieve the perfect finish.
Decorative Elements
While functionality is key, adding decorative elements can elevate the aesthetic appeal of your fitted sheets. Explore optional embellishments that complement your personal style.
Common Mistakes and How to Avoid Them
Creating fitted sheets is a gratifying endeavor, but like any DIY project, it’s not without its pitfalls. Here are some common mistakes that beginners often make and practical tips on how to steer clear of them:
Inaccurate Measurements
Mistake: Failing to measure the mattress accurately can lead to ill-fitting sheets.
Avoidance: Double-check your measurements using a reliable measuring tape. Measure the length, width, and height of the mattress, ensuring precision before cutting the fabric.
Ignoring Fabric Choice
Mistake: Choosing the wrong fabric can result in discomfort or reduced durability.
Avoidance: Research different fabrics and their properties. Consider factors such as thread count, breathability, and durability. Select a fabric that aligns with your preferences and needs.
Skipping Fabric Pre-Washing
Mistake: Neglecting to pre-wash the fabric can cause shrinkage after the sheets are made.
Avoidance: Always pre-wash your fabric according to care instructions. This ensures any potential shrinkage happens before you cut and sew, preventing unpleasant surprises later.
Neglecting to Secure Elastic Ends
Mistake: Failing to secure the ends of the elastic properly can lead to unraveling.
Avoidance: Stitch the elastic securely, and consider adding extra reinforcement at the ends. This prevents the elastic from pulling through the fabric during use.
Uneven Seams and Corners
Mistake: Poorly sewn seams and corners can result in an uneven and unprofessional appearance.
Avoidance: Take your time when sewing corners, ensuring precise pivoting. Use guiding marks and pins to maintain even seams, creating a polished and well-finished look.
Ignoring Fabric Grain
Mistake: Disregarding the fabric grain can lead to misshapen sheets.
Avoidance: Identify the grain direction of your fabric before cutting. Align pattern pieces parallel to the grain for a sheet that lays flat and fits correctly.
Overlooking Reinforcements
Mistake: Neglecting to reinforce stress points can reduce the sheet’s lifespan.
Avoidance: Identify stress points, such as corners and edges, and add extra layers of fabric or stitching to reinforce these areas. This ensures longevity and durability.
Rushing the Sewing Process
Mistake: Haste can lead to sloppy sewing and overlooked details.
Avoidance: Take your time at each stage of the process. Rushing increases the likelihood of mistakes. Precision and attention to detail result in a well-crafted finished product.
Ignoring Fabric Grain
Mistake: Disregarding the fabric grain can lead to misshapen sheets.
Avoidance: Identify the grain direction of your fabric before cutting. Align pattern pieces parallel to the grain for a sheet that lays flat and fits correctly.
Skipping Fabric Prewashing
Mistake: Neglecting to prewash the fabric can cause shrinkage after the sheets are made.
Avoidance: Always prewash your fabric according to care instructions. This ensures any potential shrinkage happens before you cut and sew, preventing unpleasant surprises later.
Ignoring Decorative Element Proportions
Mistake: Adding decorative elements without considering proportions can result in an unbalanced appearance.
Avoidance: If adding embellishments, consider the size of your sheets. Ensure decorative elements are proportional to the sheet size, maintaining a pleasing aesthetic.
Not Testing Stitch Tension
Mistake: Ignoring stitch tension can lead to uneven and unattractive seams.
Avoidance: Before starting, test your machine’s stitch tension on a scrap piece of fabric. Adjust as needed to ensure even and neat stitches throughout.
Choosing the Wrong Needle
Mistake: Using the wrong needle for your fabric can result in breakage or uneven stitches.
Avoidance: Match your needle to the fabric type. Thick fabrics require heavier needles, while delicate fabrics need finer needles.
Overlooking Thread Quality
Mistake: Using low-quality thread can lead to fraying and a shorter lifespan.
Avoidance: Invest in high-quality thread suitable for your chosen fabric. This ensures the longevity and durability of your fitted sheets.
Neglecting to Iron Seams
Mistake: Skipping the ironing step can result in a wrinkled and unprofessional finish.
Avoidance: Iron your seams throughout the process. This not only creates a polished appearance but also aids in accuracy and precision.
By being mindful of these common mistakes and following the provided tips, you’ll enhance your sheet-making skills, ensuring a seamless and satisfying DIY experience. Happy crafting!
Caring for Your Fitted Sheets
Once your fitted sheets are complete, proper care is essential for their longevity. Follow our tips on washing and maintaining your handmade sheets to keep them in pristine condition.
Customizing Your Fitted Sheets
Take your creativity to the next level by personalizing your fitted sheets. From monograms to unique patterns, the possibilities are endless.
Benefits of Homemade Fitted Sheets
Crafting your fitted sheets at home comes with a host of advantages that go beyond just having custom bedding. Here are some key benefits:
- Cost-Effectiveness: Homemade sheets often cost less than store-bought ones, saving you money without compromising on quality.
- Customization: Tailor your sheets to your preferences, choosing the fabric, color, and design that complements your bedroom aesthetic.
- Perfect Fit: Ensure an exact fit for your mattress by taking precise measurements, eliminating the struggle with ill-fitting sheets.
- Quality Control: Handmade sheets allow you to control the quality of materials, ensuring durability and comfort tailored to your standards.
- Personal Satisfaction: Experience the joy of creating something functional and beautiful for your home, adding a personal touch to your living space.
- Environmental Impact: By using eco-friendly fabrics and reducing packaging waste, homemade sheets contribute to a more sustainable and environmentally conscious lifestyle.
- Skill Development: Making fitted sheets hones your sewing skills, providing a practical and enjoyable way to enhance your crafting abilities.
- Unique Designs: Add unique embellishments, monograms, or patterns to make your sheets one-of-a-kind, reflecting your style.
- Gift Potential: Handcrafted fitted sheets make thoughtful and personalized gifts for friends and family, showcasing your creativity and care.
- Longevity: With proper care, homemade fitted sheets can outlast mass-produced options, offering a longer lifespan and sustained comfort.
Troubleshooting Tips
Even with careful planning and attention to detail, it’s not uncommon to encounter challenges during the process of making fitted sheets. Here are some common issues and quick troubleshooting tips to help you navigate through them:
Uneven Elastic Tension
Issue: The fitted sheet doesn’t fit snugly around the mattress, with uneven tension on the elastic.
Solution: Double-check your measurements and ensure the elastic is evenly distributed. Adjust the tension by either tightening or loosening it as needed.
Uneven Corners
Issue: The corners of the fitted sheet don’t lay flat on the mattress.
Solution: When sewing corners, make sure to pivot at the exact point where the seam allowances meet. Adjust your sewing machine’s speed for better control and precision.
Fabric Puckering
Issue: The fabric puckers or gathers in unwanted areas, giving an unprofessional appearance.
Solution: Ensure your machine is using the correct tension setting for the chosen fabric. Additionally, try using a walking foot to prevent layers from shifting during sewing.
Incorrect Measurements
Issue: The fitted sheet is either too small or too large for the mattress.
Solution: Double-check your measurements before cutting the fabric. Measure twice, and cut once to avoid inaccuracies. If the sheet is too small, consider adding extra fabric; if too large, trim accordingly.
Fabric Fraying
Issue: The edges of the fabric start fraying, compromising the sheet’s durability.
Solution: Use pinking shears to cut the fabric edges, preventing fraying. Additionally, consider serging or using a zigzag stitch along the edges for added reinforcement.
Difficulty Sewing Thick Fabrics
Issue: Sewing through thick fabrics poses a challenge, affecting the overall quality.
Solution: Invest in the appropriate sewing machine needles designed for thick fabrics. Take your time and sew slowly to maintain control and accuracy.
Mismatched Seams
Issue: Seams don’t align correctly, leading to an uneven appearance.
Solution: Mark seam lines clearly on the fabric and match them precisely during sewing. Pinning the fabric together before sewing helps maintain alignment.
Elastic Breakage
Issue: The elastic breaks or snaps during use.
Solution: Ensure you’re using high-quality elastic appropriate for the sheet’s size. Stitch the elastic securely, and consider reinforcing the ends to distribute tension evenly.
Wrinkled Hem
Issue: The hem appears wrinkled or uneven.
Solution: Press the fabric before sewing to eliminate wrinkles. Use the appropriate stitch for the hem, and take your time to sew it neatly.
Fabric Slippage
Issue: Layers of fabric slip during cutting or sewing.
Solution: Use pins or fabric weights to secure layers in place. Consider using adhesive or washable fabric glue to temporarily bind layers before sewing.
By being aware of these potential issues and armed with the right solutions, you can confidently troubleshoot any challenges that may arise during the process of making your fitted sheets. Happy sewing!
People also ask
Is it easy to sew your own sheets?
Yes, sewing your own sheets can be surprisingly easy, even for beginners.
With the right guidance, precise measurements, and attention to detail, crafting your fitted sheets allows you to customize bedding to your liking.
The satisfaction of a perfect fit and the creative freedom to choose fabrics and designs make the process enjoyable and rewarding.
Dive into the world of sheet-making, and discover the ease and joy of creating bedding tailored to your preferences.
How do you convert a flat sheet to a fitted sheet without sewing?
Converting a flat sheet to a fitted sheet without sewing is a quick and simple DIY solution. Follow these steps:
Lay Flat Sheet on Mattress: Start by placing the flat sheet evenly over the mattress, ensuring it hangs over the sides.
Fold and Tuck Corners: Lift the mattress corners and fold them diagonally, tucking the excess fabric underneath. This creates makeshift corner pockets.
Secure with Clips or Sheet Straps: To keep the corners in place, use fitted sheet clips or sheet straps. Attach these to the underside of the mattress to prevent the corners from popping out.
Adjust and Smooth: After securing the corners, adjust and smooth the sheet to ensure a snug fit. Tuck any excess fabric under the mattress for a neat appearance.
How much elastic do I need for a fitted sheet?
The amount of elastic needed for a fitted sheet, measure the perimeter of your mattress and add a few inches for overlap.
A standard guideline is using approximately 2 feet of elastic for each corner of the mattress, totaling 8 feet for a typical twin, full, or queen-sized bed.
For larger beds, like king-sized ones, consider using around 10 feet of elastic. Adjustments can be made based on personal preference and the level of snugness desired.
How do you make a full-size fitted sheet?
To make a full-size fitted sheet, follow these concise steps:
Measurements: Measure the length, width, and depth of the mattress.
Fabric Cutting: Cut your fabric to the dimensions, adding extra for seams (depth + 2 x 2 inches).
Elastic Placement: Cut four pieces of elastic, each equal to the mattress’s width. Sew these onto the corners, ensuring they are snug but not overly tight.
Sewing Corners: Sew mitered corners by folding the fabric diagonally at each corner, creating a box-like shape.
Seam and Hem: Sew around the entire perimeter, leaving an opening to insert the elastic. After inserting the elastic, sew the opening shut. Hem the bottom edge for a clean finish.
Secure Elastic: Attach safety pins to one end of each elastic piece, making it easier to thread through the fabric casing. Once through, secure the other end with pins and sew in place.
Conclusion
In conclusion, mastering the art of sewing a fitted sheet is an attainable skill that can elevate your bedding game.
By following the step-by-step guide provided, you can create tailored and snug-fitting sheets that not only enhance the aesthetics of your bed but also ensure a comfortable night’s sleep.
Remember to measure accurately, sew with precision, and take your time to achieve a professional finish. With practice, you’ll gain confidence and be able to customize sheets to fit any mattress size. Happy sewing!

Hi, I am Alice, and I am your perfect guide to the world of sewing machines. With over 10 years of experience in the sewing industry, I am passionate about sharing my knowledge and expertise to help you make the most of your sewing journey. about me