How to Sew Crochet Pieces Together? (Easy Way Guide & Tips) 2023
Embarking on a crochet project is a delightful journey, but seamlessly joining the individual pieces is a crucial skill for a polished and cohesive finish.
How to Sew Crochet Pieces Together? In this guide, we’ll explore the art of sewing crochet pieces together, providing you with essential tips and techniques to effortlessly connect your creations.
Whether you’re working on blankets, garments, or other crocheted items, mastering this skill will elevate your craftsmanship and bring your vision to life.
Let’s dive into the world of joining crochet pieces with confidence and precision.

How to Sew Crochet Pieces Together?
Crocheters often find themselves faced with the challenge of connecting individual crochet pieces to complete a project.
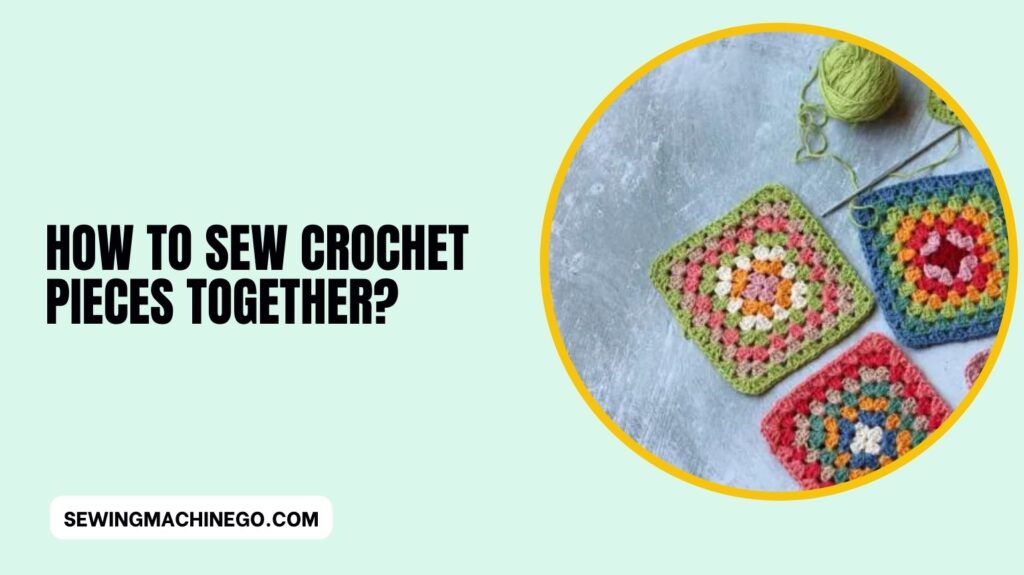
Whether it’s assembling granny squares for a blanket or putting together amigurumi parts, the process of sewing crochet pieces is a crucial skill that enhances the overall quality of your creations.
A. Brief explanation of the importance of sewing crochet pieces together
Sewing crochet pieces is not just about functionality; it’s about elevating your craftsmanship.
The joining process ensures durability and longevity, turning a collection of separate elements into a unified, eye-catching masterpiece.
B. The joy of creating handmade items
There’s a unique satisfaction that comes from crafting something with your own hands. Hand-sewn crochet projects carry a personal touch, making them cherished items for both the creator and the recipient.
Essential Tools and Materials
Before diving into the sewing process, gather the essential tools and materials to set yourself up for success.
A. List of tools needed for sewing crochet pieces
- Yarn needle
- Scissors
- Stitch markers
- Blocking tools
B. Types of yarn and crochet hooks for a seamless finish
Choosing the right yarn and crochet hook ensures a smooth and cohesive look in the finished project. Opt for yarn that matches the weight and texture of your crochet pieces.
Preparation
Before diving into the intricate process of sewing crochet pieces together, proper preparation is key to ensuring a seamless and successful project.
This section will guide you through essential steps to take before embarking on the joining process.
A. Blocking Crochet Pieces Before Sewing
Blocking is a crucial step in preparing your crochet pieces for seamless joining. It involves shaping and sizing the individual pieces to ensure they match the intended dimensions of your project.
Here’s a simple guide to blocking:
- Gather Your Materials:
- You’ll need blocking mats, rust-resistant T-pins, and a spray bottle with water.
- Arrange Your Pieces:
- Lay out your crochet pieces on the blocking mats, ensuring they are free of wrinkles or folds.
- Pin in Place:
- Use T-pins to secure the pieces to the blocking mats, stretching them gently to the desired size and shape.
- Mist with Water:
- Lightly mist the pieces with water using the spray bottle. Be cautious not to oversaturate.
- Allow to Dry:
- Let the pieces dry completely before removing the T-pins. This ensures that the blocked shape is set.
B. Choosing the Right Method Based on the Project
Not all crochet projects are created equal, and the joining method you choose should complement the specific characteristics of your project. Consider the following factors when selecting a joining method:
- Project Type:
- Different projects may require different joining methods. Assess whether you’re working on a blanket, amigurumi, or wearable item.
- Yarn Type:
- The type of yarn used can influence the joining method. For thicker yarn, a more substantial joining technique may be suitable, while delicate yarn may require a more discreet approach.
- Design Complexity:
- Projects with intricate stitch patterns or color changes may demand a more meticulous joining technique to preserve the design.
By blocking your pieces and carefully selecting the appropriate joining method, you set the stage for a smooth and enjoyable sewing process. In the next section, we’ll delve into various techniques for seamless joining to bring your crochet pieces together seamlessly.
Techniques for Seamless Joining
Several techniques can be employed to seamlessly join crochet pieces. Let’s explore some of the most popular methods.
A. Whip Stitch
The whip stitch is a simple and effective way to join pieces with a neat, almost invisible seam. It’s ideal for projects with straight edges.
B. Slip Stitch
The slip stitch creates a subtle seam, making it suitable for joining pieces with a delicate or lacy pattern. This method works well for both straight and curved edges.
C. Single Crochet Join
For a more substantial seam, the single crochet join adds a decorative touch while securely connecting your crochet pieces.
Handling Different Crochet Patterns
Joining crochet pieces becomes more intricate when dealing with various stitch patterns. Here are some tips to navigate the challenges.
A. Tips for joining pieces with intricate patterns
When working with complex stitch patterns, match the stitches carefully to maintain the pattern’s integrity.
B. Dealing with color changes and variegated yarns
Coordinate color changes seamlessly by choosing a joining method that complements the color transitions in your project.
Troubleshooting Common Issues
Even the most seasoned crocheters encounter challenges when sewing crochet pieces together. In this section, we’ll explore common issues that may arise during the joining process and provide practical solutions to ensure your hand-sewn crochet projects turn out flawlessly.
A. Fixing Uneven Seams
Problem:
Uneven seams can detract from the overall appearance of your project, creating a distracting visual element.
Solution:
If you notice uneven seams, don’t panic. Carefully undo the stitches in the affected area, paying close attention to the tension as you rejoin the pieces. Take your time to ensure a consistent and smooth finish. Practice on a scrap piece first to refine your technique.
B. Repairing Mistakes Without Unraveling the Entire Project
Problem:
Discovering a mistake after sewing several pieces together can be disheartening, but there’s no need to unravel the entire project.
Solution:
Use your yarn needle to carefully undo the stitching in the area where the mistake occurred.
Once the problematic section is undone, rejoin the pieces with precision. This targeted approach saves time and allows you to fix mistakes without compromising the entire project.
Pro Tip:
Take breaks during the joining process to periodically assess your work. Catching mistakes early makes them easier to correct.
Troubleshooting uneven seams and mistakes is a natural part of the creative process.
Approach these challenges with patience and a problem-solving mindset, and you’ll be well on your way to a seamless and professional-looking hand-sewn crochet project.
Finishing Touches
Sewing crochet pieces together is just the beginning; the final steps are crucial to achieving a polished and professional look.
In this section, we’ll explore the essential finishing touches that elevate your hand-sewn crochet projects to the next level.
A. Weaving in Loose Ends
After the pieces are securely joined, it’s time to deal with any loose ends. Weaving in these ends is a vital step to ensure a neat and tidy appearance.
Use a yarn needle to carefully thread the loose yarn through the stitches, securing it in place. Trim any excess yarn for a clean finish.
B. Blocking the Finished Project
Blocking is the secret weapon of experienced crocheters, and it’s especially important after joining pieces.
This process involves wetting or steaming the finished project to set the stitches and shape the final piece. Blocking helps eliminate any irregularities, ensuring your creation looks polished and professional.
Pro Tip:
For projects with intricate patterns or delicate yarn, consider pinning the joined pieces onto a blocking board before misting them with water or using a steamer.
This meticulous approach guarantees that your final project maintains its intended shape.
Project Ideas and Inspiration
Unlock your creativity and explore the endless possibilities of joining crochet pieces with these inspiring project ideas.
Whether you’re a seasoned crocheter or a novice, these suggestions will spark your imagination and showcase the versatility of seamless crochet joining.
A. Creative Projects That Involve Joining Crochet Pieces
- Patchwork Blankets:
- Combine various crochet squares with different textures and colors to create a visually stunning patchwork blanket. Experiment with joining methods to add depth and interest.
- Multi-Piece Clothing Items:
- Design unique clothing pieces by joining crochet elements seamlessly. Think about combining motifs for bohemian-style vests or stitching together granny squares for a retro-chic cardigan.
- Amigurumi Animals with Detachable Parts:
- Take amigurumi to the next level by creating animals with detachable parts. Sewing them together allows for customizable and interactive toys that can be disassembled and reassembled.
B. Showcasing the Versatility of This Technique
- Textured Wall Hangings:
- Use various crochet textures and stitches to craft individual panels and join them to form a beautifully textured wall hanging. Experiment with color gradients for an eye-catching display.
- Functional Home Decor:
- Combine crochet pieces to craft functional home items like coasters, placemats, or even a unique table runner. The seamless joins add a touch of elegance to everyday items.
- Wearable Art Accessories:
- Create wearable art by joining crochet pieces to make statement accessories such as shawls, scarves, or even intricate headpieces. The versatility of joining methods allows for diverse and stunning designs.
Experiment with Different Joining Methods
- Textured Throw Pillows:
- Explore the world of texture by sewing together crochet panels to make decorative throw pillows. Mix and match stitches for a tactile experience.
- Boho-Inspired Bags:
- Craft stylish and functional bags by joining crochet squares or rectangles. The seamless joins not only enhance the durability but also contribute to the overall aesthetic.
- Eclectic Rugs:
- Piece together crochet motifs to create vibrant and eclectic rugs for your home. This project allows you to play with colors and patterns, showcasing the versatility of seamless crochet joining.
Benefits of Hand-Sewn Crochet
Sewing crochet pieces by hand offers a myriad of advantages that go beyond mere aesthetics. Let’s delve into the unique benefits of choosing hand-sewn crochet over alternative methods.
A. Durable and Long-Lasting Creations
One of the standout benefits of hand-sewn crochet projects lies in their durability. The hand-sewn seams are more robust and can withstand the test of time and wear.
Unlike some machine-sewn counterparts, hand-sewn pieces are less prone to unraveling or coming apart. This durability ensures that your meticulously crafted creations remain intact and beautiful for years to come.
B. Personalized Touch and Uniqueness
Hand-sewn crochet projects carry a special touch that sets them apart. Each stitch, each join, is a reflection of the crafter’s unique style and attention to detail.
This personalized touch infuses a sense of individuality into every project, making it a one-of-a-kind piece.
Whether you’re gifting your creation or keeping it for yourself, the uniqueness of hand-sewn crochet adds an extra layer of sentiment and charm.
People also ask
What is the best stitch to sew crochet together?
The best stitch to sew crochet together depends on the project, but the slip stitch is often favored for its subtlety and flexibility.
It creates a nearly invisible seam, making it suitable for a wide range of crochet pieces, from blankets to delicate wearables.
Experiment with other stitches like whip stitch or single crochet join based on your project’s specific needs and design.
How do you attach crochet pieces together?
To attach crochet pieces seamlessly, use a yarn needle and employ techniques such as the slip stitch, whip stitch, or single crochet join.
Thread the needle with the same yarn used in the project, align the pieces, and stitch through both loops of corresponding stitches.
Experiment with different methods based on your project type and desired finish for a polished and secure connection.
How do you join crochet squares together?
For joining crochet squares, the whip stitch or slip stitch method works well.
Align the squares with the right sides facing, thread a yarn needle with the same yarn used for the squares, and stitch through both loops of corresponding stitches.
Repeat across the edges, creating a secure and tidy seam. Adjust the tension as needed for a cohesive finish.
How to make an invisible seam in crochet?
To achieve an invisible seam in crochet, use the slip stitch method.
Align the pieces with right sides facing, insert the hook into both loops of corresponding stitches, yarn over, and pull through both loops.
Continue across the seam. This creates a nearly undetectable connection, providing a clean and seamless finish to your crochet project. Adjust tension for an invisible yet secure join.
Conclusion
In conclusion, mastering the art of sewing crochet pieces together enhances the overall quality and aesthetic appeal of your handmade creations.
By following these techniques and tips, you can ensure a seamless and professional finish to your projects. Remember to align stitches carefully, use a yarn needle for precision, and maintain consistency throughout the process.
With practice and attention to detail, you’ll be able to seamlessly connect your crochet pieces, resulting in beautifully crafted and durable items. Happy stitching!

Hi, I am Alice, and I am your perfect guide to the world of sewing machines. With over 10 years of experience in the sewing industry, I am passionate about sharing my knowledge and expertise to help you make the most of your sewing journey. about me


