How to Sew on Bias Binding? (Easy Steps Guide) In 2023
Sewing on bias binding may seem like a daunting task for many, but with the right guidance, it can transform your sewing projects.
How to Sew on Bias Binding? Bias binding, a versatile strip of fabric cut on a 45-degree angle, is an excellent way to finish edges, add durability, and inject a pop of color or pattern.
In this article, we’ll delve into the art of sewing on bias binding, exploring techniques, tips, and creative possibilities.

Understanding The Bias Binding
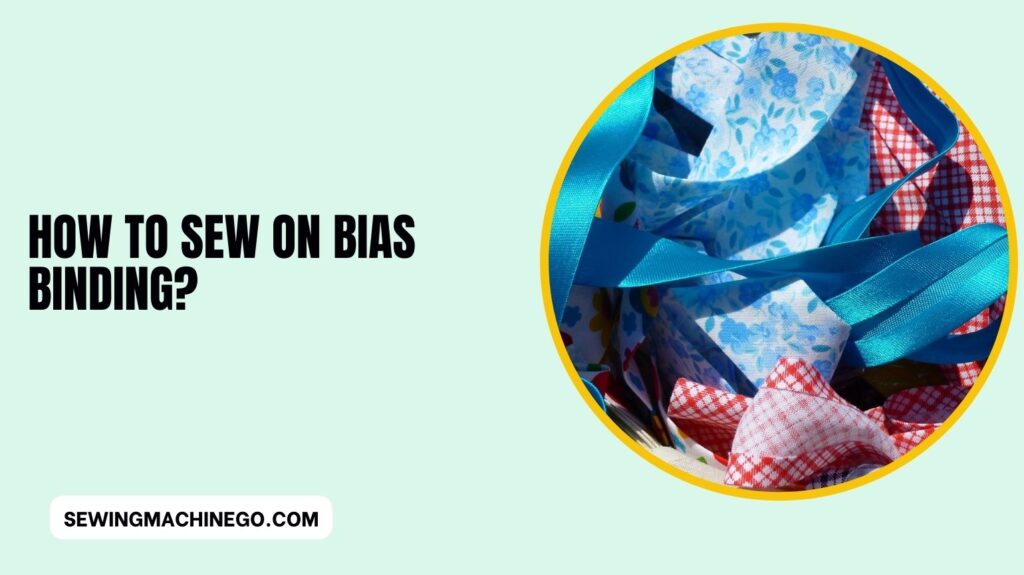
Bias binding is a fabric strip cut on the bias, allowing it to stretch and contour to curves and edges seamlessly. Its primary purpose is to encase raw fabric edges, providing a clean and polished finish.
There are various types of bias binding, including single-fold and double-fold, each serving specific purposes in sewing projects.
Choosing the Right Bias Binding
Selecting the appropriate bias binding involves considering factors such as fabric type, project requirements, and personal aesthetic preferences.
Understanding how different widths and colors can impact the final look of your project is crucial for achieving the desired outcome.
Essential Tools for Sewing Bias Binding
Before diving into sewing bias binding, ensure you have the necessary tools. A reliable sewing machine, quality pins or clips, sharp scissors, and a well-functioning iron are indispensable for a smooth and efficient sewing experience.
Preparing the Fabric and Bias Binding
The key to successful bias binding application lies in proper preparation. Learn the art of cutting bias strips accurately and pressing them to maintain their shape, ensuring a professional-looking finish in your projects.
Attaching Bias Binding to Straight Edges
Sewing bias binding on straight edges is a fundamental skill. Follow a step-by-step guide to achieve neat and even stitches, creating a seamless edge finish. Practical tips will help you master this technique with ease.
Sewing Bias Binding on Curved Edges
Conquering curved edges can be challenging, but with the right techniques, you can achieve flawless results. Explore the nuances of sewing bias binding on curves, understanding the intricacies, and overcoming potential hurdles.
Mitering Corners with Bias Binding
Mitered corners add a sophisticated touch to your sewing projects. Learn the art of mitering corners with bias binding, following detailed instructions, and avoiding common pitfalls for a polished look.
Finishing Techniques for Bias Binding
When it comes to adding a professional and polished touch to your sewing projects, mastering finishing techniques for bias binding is essential.
Bias binding not only provides a clean edge but also adds durability and a touch of finesse to your creations.
In this guide, we will delve into various finishing techniques that elevate the appearance of your work, ensuring that the edges are neat, secure, and visually appealing.
Whether you’re binding quilt edges, garment hems, or other fabric projects, these finishing techniques will contribute to a seamless and refined final product. Let’s explore the methods that will take your bias-binding skills to the next level.
Creative Ways to Use Bias Binding
Go beyond the basics and explore creative ways to incorporate bias binding into your projects. Add decorative elements, experiment with contrasting colors, and elevate the aesthetic appeal of your creations.
Troubleshooting Common Issues
Sewing on bias binding can be a rewarding endeavor, but like any skill, it comes with its share of challenges. Let’s explore common issues that may arise during the process and how to troubleshoot them effectively.Encountering issues with bias binding?
Here’s a quick guide to common problems:
- Uneven Stitches:
- Check thread tension and machine settings.
- Ensure consistent fabric feed.
- Wrinkles and Puckering:
- Press bias strips thoroughly before application.
- Adjust iron temperature to fabric type.
- Loose Ends:
- Secure ends with backstitching or hand-tie knots.
- Trim excess binding for a clean finish.
Caring for Garments with Bias Binding
Understanding how to care for garments with bias binding is essential for maintaining the longevity of your creations. Follow washing and ironing tips to keep your projects looking pristine.
DIY Bias Binding: A Cost-Effective Approach
For those seeking a personalized touch, delve into the world of DIY bias binding. Learn how to make bias binding at home, allowing you to customize your projects with unique and tailored finishes.
Inspiring Projects with Bias Binding
Explore a showcase of finished projects, ranging from simple applications to intricate designs. Let these examples inspire your creativity and encourage you to experiment with bias binding in diverse ways.
People also ask
How do you attach bias binding?
Attaching Bias Binding Straight Edges:
Align bias binding to the raw edge.
Stitch along the fold, ensuring even tension.
Curved Edges:
Pin binding to curve, adjusting as needed.
Stitch slowly, pivoting to follow the curve.
Mitering Corners:
Stop stitching before the corner.
Fold binding at a 45-degree angle and continue.
How do you sew ready-made bias binding?
Sewing Ready-Made Bias Binding
Preparation:
Unfold bias binding and press if necessary.
Placement:
Align the open edge with the fabric’s raw edge.
Stitching:
Stitch along the binding fold.
Ensure even stitches for a polished finish.
Corners:
Miter corners by folding at a 45-degree angle.
Securing Ends:
Overlap or tuck ends for a seamless result.
Stitch in place to secure.
Do you have to cut fabric on the bias for binding?
Cutting fabric on the bias for binding is not mandatory, but it’s often preferred. Bias-cut binding has more stretch, making it ideal for binding curved edges.
Straight grain binding works for straight edges but may not conform as well to curves.
Choosing bias or straight grain depends on the project’s requirements and the type of edges you’re binding.
How do you sew single bias binding?
To sew single bias binding:
Cut Bias Strips: Cut bias strips of fabric, usually 1.5 to 2 inches wide.
Fold and Press: Fold the bias strip in half lengthwise, wrong sides together, and press.
Attach to Raw Edge: Align the raw edges of the bias strip with the raw edge of the fabric. Stitch with a 1/4-inch seam allowance.
Fold and Stitch Again: Fold the binding over the raw edge, encasing it. Stitch close to the folded edge.
Miter Corners: For corners, miter the binding by folding it at a 45-degree angle and continuing.
Finish: Complete by stitching along the entire length of the binding. Press for a neat finish.
Conclusion – How to Sew on Bias Binding?
In conclusion, sewing on bias binding is a skill that opens up a world of creative possibilities in the realm of sewing.
Mastering the techniques outlined in this article will empower you to add professional and polished finishes to your projects.
Don’t shy away from experimentation, and remember that practice is key to perfection in the world of sewing.

Hi, I am Alice, and I am your perfect guide to the world of sewing machines. With over 10 years of experience in the sewing industry, I am passionate about sharing my knowledge and expertise to help you make the most of your sewing journey. about me


