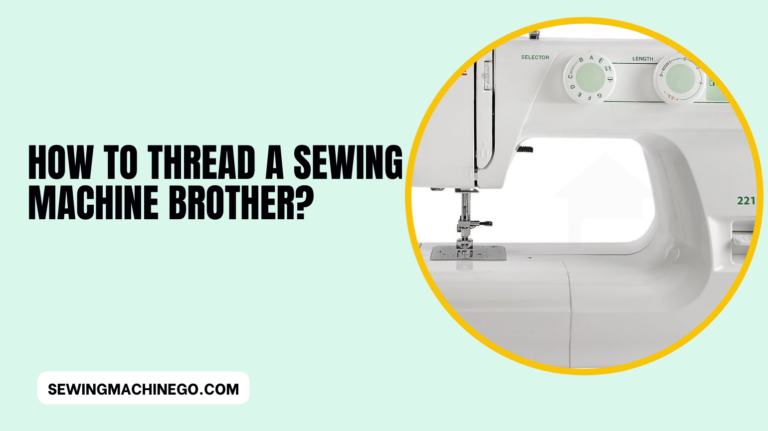
How to Sew on a Button by Hand? Best Ways Explain In 2024
In the realm of basic sewing skills, the humble act of sewing on a button by hand stands as a fundamental yet often overlooked art.
How to Sew on a Button by Hand? From reattaching a lost button to adding embellishments, this simple technique holds the power to salvage garments and add personal flair to our clothing.
Mastering this skill not only offers practicality but also serves as a gateway to exploring the world of hand-sewing, making it an indispensable skill in any sewing repertoire.
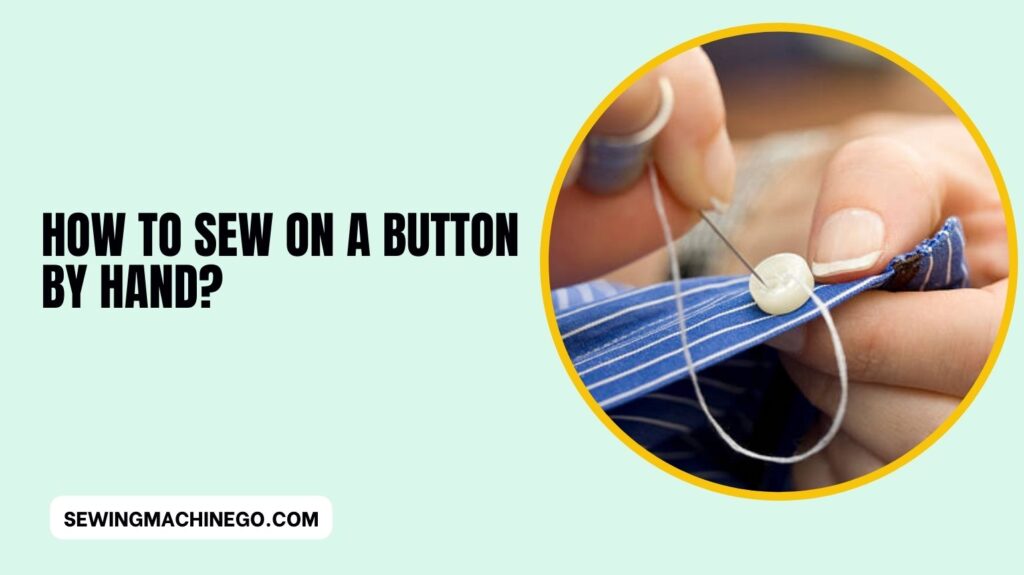
How to Sew on a Button by Hand?
In the realm of basic sewing skills, the ability to sew on a button is fundamental. It’s a skill that transcends generations, a simple yet essential technique that can rescue a garment and prevent a fashion emergency.
Imagine having the perfect outfit for an important occasion only to find a loose button! That’s where your sewing prowess comes into play.
Materials Needed
When it comes to sewing on a button by hand, gathering the right materials is key to a successful outcome. Here’s what you’ll need:
Materials Required:
- Needle:
- Choose a needle appropriate for the button and fabric. For smaller buttons, opt for a finer needle, while larger buttons might require a sturdier one.
- Thread:
- Select a thread that matches the color of the garment. Ensure it’s strong enough to withstand regular use without easily breaking.
- Scissors:
- A pair of sharp scissors will help cut the thread neatly and trim any excess.
- Buttons:
- Have the replacement button ready if you’re replacing a missing one. Ensure it matches the size and style of the original buttons on the garment.
- Thimble (Optional):
- A thimble can protect your fingers while sewing, especially when working with tougher fabrics or multiple layers.
- Fabric Marker or Chalk (Optional):
- Use these to mark the spot where the button will be sewn, ensuring accurate placement.
Having these materials at hand will make the process smoother and ensure your buttons are securely attached and ready to withstand everyday wear.
Preparing the Thread and Needle
Choosing the right thread and needle is crucial. The thread should be strong enough to endure daily wear, and the needle should easily pass through the buttonholes. Threading the needle might seem daunting at first, but with practice, it becomes a simple maneuver.
Positioning the Button
Once your materials are prepared, it’s time to position the button. Carefully determine the spot where the button needs sewing and mark it on the fabric. Ensuring proper alignment is key to maintaining the garment’s original appearance.
Sewing Techniques
When it comes to sewing on a button, employing the right technique ensures a secure attachment. Here’s a step-by-step guide to mastering this skill:
Step 1: Threading the Needle
- Select the Right Thread:
- Choose a thread that matches the color of the garment. Cut a manageable length of thread, typically around 18 inches, to prevent tangling.
- Threading the Needle:
- Flatten the end of the thread between your fingers to make it easier to pass through the needle’s eye. Alternatively, use a needle threader for assistance.
Step 2: Positioning the Button
- Mark the Spot:
- Use a fabric marker or chalk to mark the spot where the button will be sewn. Ensure it aligns with the buttonhole on the opposite side.
- Preparing the Needle:
- Knot one end of the thread to prevent it from slipping through the fabric.
Step 3: Sewing the Button
- Initial Anchor:
- Start from the backside of the fabric and bring the needle up through the marked spot. Secure the thread with a couple of stitches to anchor it in place.
- Button Placement:
- Position the button over the marked spot and hold it in place with your thumb or a pin.
- Creating Stitches:
- Pass the needle through one of the button’s holes, then through the corresponding hole on the fabric. Repeat, creating a tight “X” pattern to secure the button.
- Reinforcing Stitches:
- For added strength, repeat the stitching process at least 4-6 times through the buttonholes, ensuring a firm attachment.
Step 4: Securing and Finishing
- Securing the Thread:
- Once the button is secure, bring the needle to the backside of the fabric and tie off the thread with a knot. Trim any excess thread.
- Final Checks:
- Ensure the button is firmly attached and can move freely through the buttonhole without too much tension.
By following these techniques, you can confidently sew on a button by hand, ensuring it stays in place for prolonged use. Practice and patience will enhance your skill, making it a seamless task whenever needed.
Securing and Finishing
To guarantee longevity, reinforce the button by adding a few extra stitches. This step ensures that the button withstands tension without easily coming off.
Additionally, tidy up the loose ends of the thread for a neat and professional finish. After sewing on the button, it’s crucial to secure the thread for longevity and give your garment a polished look:
- Reinforce the Attachment:
- To fortify the button’s hold, pass the needle through the fabric a few more times, ensuring a strong and durable attachment.
- Tying Off the Thread:
- Once satisfied with the button’s security, flip the fabric to the backside. Tie a secure knot with the thread, close to the fabric surface, and trim any excess thread.
- Checking the Button:
- Ensure the button is firmly attached, with no loose threads or wobbling. Test its functionality by passing it through the buttonhole.
By reinforcing the button and neatly tying off the thread, you’ll ensure a professional finish and a securely fastened button ready for everyday use.
People also ask
How do you hand sew a button on?
To hand sew a button, start by threading a needle and knotting the end. Position the button and push the needle through from the back of the fabric.
Bring it back up through another buttonhole and fabric, creating an “X” pattern.
Repeat this for a few stitches, then secure the thread on the back by looping it and tying a knot. Trim any excess thread, and your button is securely attached!
Is it difficult to sew on a button?
Sewing on a button is generally straightforward and doesn’t require advanced skills. With a bit of practice and patience, it becomes quite manageable, even for beginners.
How do you sew by hand for beginners?
For beginners, start with simple stitches like the straight stitch or running stitch.
Thread a needle, knot the end, and practice stitching on scrap fabric, aiming for even and straight lines.
As you gain confidence, try joining fabric pieces together or sewing basic shapes. Remember, practice makes progress!
How do you sew a two hole button by hand?
To sew a two-hole button by hand, thread a needle and knot the end. Position the button and push the needle up through one of the holes from the back of the fabric.
Bring it back down through the opposite hole and fabric. Repeat this a few times for security, then finish by securing the thread on the back with knots.
Trim any excess thread, and your button is securely attached!
Conclusion
In conclusion, mastering the art of sewing on a button by hand is a skill worth cultivating.
It’s a practical ability that rescues clothing and prevents fashion mishaps. With practice, anyone can become proficient at this simple yet invaluable technique.

Hi, I am Alice, and I am your perfect guide to the world of sewing machines. With over 10 years of experience in the sewing industry, I am passionate about sharing my knowledge and expertise to help you make the most of your sewing journey. about me