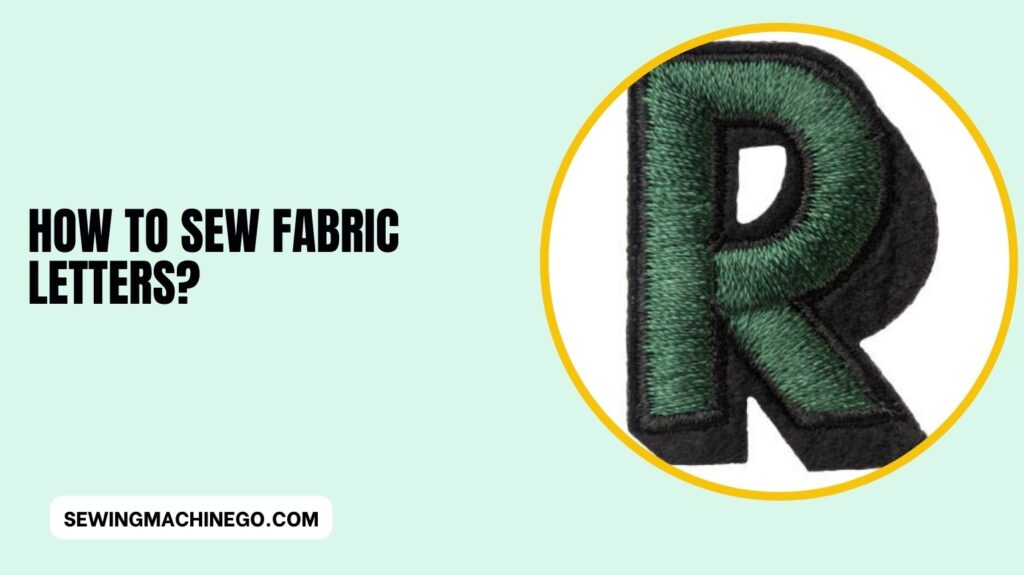
How to Sew Fabric Letters? (Easy Guide) In 2024
Embroidering fabric letters adds a personal touch and a unique flair to any project. How to Sew Fabric Letters?
Whether you’re customizing a garment, creating a banner, or embellishing a craft, sewing fabric letters allows you to infuse your creations with individuality and creativity.
Let’s delve into the steps and techniques required to master the art of sewing fabric letters, unlocking a world of endless possibilities in crafting and design.

Introduction to Sewing Fabric Letters
Fabric letters hold immense significance in the realm of crafts. They enable individuals to express themselves creatively, adding a personal touch to various projects.
Before delving into the sewing process, it’s essential to gather the necessary tools and materials. A sewing machine, fabric, thread, needles, scissors, and marking tools are fundamental requisites for this craft.
Choosing the Right Fabric for Letter Sewing
Selecting the appropriate fabric plays a pivotal role in the success of sewing fabric letters.
Various fabric types, such as cotton, felt, or canvas, offer unique textures and characteristics suitable for different projects. Consider factors like durability, texture, and color when choosing the fabric for your letters.
Designing and Planning Fabric Letters
Before commencing the sewing process, it’s advisable to sketch and plan the design of the fabric letters. Experiment with different fonts and styles to determine the ideal look for your project.
This stage allows for creativity and ensures a clear vision before cutting the fabric.
Preparing the Fabric and Cutting Letters
Prepare the chosen fabric by washing and ironing it to ensure a smooth surface. Use stencils or freehand drawings to outline the letters on the fabric. Employ precise cutting techniques to achieve clean and accurate fabric letters.
Sewing Techniques for Fabric Letters
Sewing fabric letters can be accomplished through both hand-sewing and machine-sewing methods. Hand-sewing offers intricate detailing and control, while machine-sewing provides efficiency and speed.
Choose the method that best suits your project and skill level. When it comes to sewing fabric letters, two primary techniques are commonly used:
1. Hand-Sewing Fabric Letters:
- Hand-sewing offers precision and control, allowing for intricate detailing on fabric letters.
- Use a basic running stitch or backstitch to outline the letters on the fabric.
- Employ a sharp, fine needle and matching thread for neat and precise stitches.
- This method is ideal for smaller projects or when intricate detailing is desired.
2. Machine-Sewing Fabric Letters:
- Machine sewing provides efficiency and speed, making it suitable for larger projects or when uniformity is key.
- Select a sewing machine with appropriate stitch options and a fine needle suitable for the fabric type.
- Utilize a satin stitch or zigzag stitch to outline and fill in the letters on the fabric.
- Practice on scrap fabric to adjust stitch width and length for optimal results.
Both techniques offer their unique advantages, so choose the method that aligns with your project’s requirements and your comfort level with sewing.
Embellishments and Decorative Options
Enhance the visual appeal of fabric letters by adding embellishments like sequins, beads, or embroidery.
Experiment with decorative stitches or appliqués to create unique and eye-catching designs that complement your project.
Tips for Care and Maintenance
To ensure the longevity of fabric letters, follow proper care instructions. Gentle washing, avoiding harsh chemicals, and storing them appropriately can preserve their quality and appearance over time.
Here are some essential tips for their care and maintenance:
1. Gentle Washing:
- Hand wash fabric letters using mild detergent and lukewarm water to preserve their quality. Avoid using harsh chemicals or bleach as they might damage the fabric.
- If machine washing is preferred, use a delicate cycle with cold water and mild detergent. Place the letters in a mesh laundry bag to prevent tangling or damage during the wash.
2. Air Drying:
- After washing, air dry the fabric letters by laying them flat on a clean towel. Avoid wringing or twisting them, as this might distort their shape or cause wrinkles.
- Direct sunlight can fade the colors, so dry the letters in a shaded area or indoors to maintain their vibrancy.
3. Storage:
- Store fabric letters in a dry and clean environment, away from direct sunlight and moisture. Consider placing them in a fabric bag or a box to prevent dust accumulation.
- To avoid creases, gently fold the letters or roll them up with tissue paper before storing them.
4. Handling:
- When handling fabric letters, ensure clean hands to prevent transferring oils or dirt onto the fabric. Avoid sharp objects that could snag or tear the fabric.
- Be cautious while ironing fabric letters. Use a low heat setting and place a cloth or parchment paper over them to protect the fabric from direct heat.
5. Repairs:
- Promptly attend to any loose threads or minor damages on the fabric letters. Use a small, sharp needle and matching thread to mend any tears or loose edges to prevent further damage.
6. Display:
- Avoid prolonged exposure to direct sunlight or harsh environmental conditions when displaying fabric letters. Consider framing them behind UV-resistant glass to protect them from fading and dust.
Crafting Projects Using Fabric Letters
Fabric letters offer versatility, making them suitable for various crafting projects. Consider incorporating them into quilts, banners, pillows, or clothing to add a personalized touch and elevate the aesthetics of your creations.
People also ask – How to Sew Fabric Letters?
How do you make a fabric letter?
Creating a fabric letter involves these steps:
Prepare the Fabric: Choose your fabric and iron it flat to remove wrinkles. Ensure it’s clean and free from dust.
Design the Letter: Sketch or print the letter you want onto paper. Cut out the letter to use as a stencil.
Transfer the Design: Pin the paper stencil onto the fabric and trace around it using fabric chalk or a washable fabric marker.
Cut Out the Letter: Carefully cut along the traced lines to create the fabric letter.
Sew or Attach: Use hand-sewing or machine-sewing techniques to stitch along the outline of the letter or adhere it to your project using fabric glue or fusible webbing.
How do you put lettering on fabric?
There are a few methods to put lettering on fabric:
Embroidery: Use hand embroidery or machine embroidery to stitch letters onto fabric.
Fabric markers or pens: Write or draw directly onto the fabric with fabric-safe markers or pens.
Iron-on transfers: Print or purchase letter designs and transfer them onto the fabric using heat and iron.
Fabric paint or stencils: Use fabric paint and stencils to create lettering on fabric.
Choose the method that suits your preferences and the desired look for your project.
How do you wrap letters in fabric?
To wrap letters in fabric for a craft project:
Cut fabric: Cut the fabric larger than the letters you want to wrap. Ensure enough fabric to cover the letters completely.
Adhere fabric: Use adhesive or glue suitable for fabric to attach the fabric to the letters. Start by securing one end of the fabric to the back of the letter.
Wrap the letters: Wrap the fabric around the letters, ensuring it’s taut and smooth. Secure the fabric at the back or edges of the letters using glue or adhesive.
Trim excess: Trim any excess fabric to neaten the edges of the letters.
This technique is great for creating fabric-covered letters for decorative purposes or crafting projects.
How do you cut fabric letters for applique?
To cut fabric letters for appliqué:
Choose fabric and stabilize: Select your fabric and apply a stabilizer if needed to reinforce the fabric.
Template or stencil: Create or acquire a letter template or stencil in the desired font and size.
Trace and cut: Trace the letters onto the fabric using the template or stencil. Cut along the traced lines to create fabric letters.
Prepare for appliqué: Place the fabric letters onto your base fabric, securing them with pins or fabric glue. Stitch around the edges of the letters to attach them to the base fabric, using a satin stitch or another desired sewing technique.
Conclusion
In conclusion, sewing fabric letters is a creative and enjoyable way to personalize your projects.
By following these steps, you can easily craft custom letters that add a unique touch to your designs. Experiment with different fabrics, stitches, and sizes to achieve the perfect look for your intended project.
With practice and patience, you’ll master the art of sewing fabric letters and open up a world of possibilities for your crafts and creations.

Hi, I am Alice, and I am your perfect guide to the world of sewing machines. With over 10 years of experience in the sewing industry, I am passionate about sharing my knowledge and expertise to help you make the most of your sewing journey. about me


