How to Sew on Bias Tape? Best Ways To Guides In 2023
Bias tape is a versatile and indispensable tool in the world of sewing. How to Sew on Bias Tape?
It’s a narrow strip of fabric cut on the bias, allowing it to stretch and bend, making it perfect for finishing edges, binding seams, or adding decorative touches to various sewing projects.
Mastering the art of sewing on bias tape opens up a realm of creative possibilities in garment-making, quilting, and crafting.
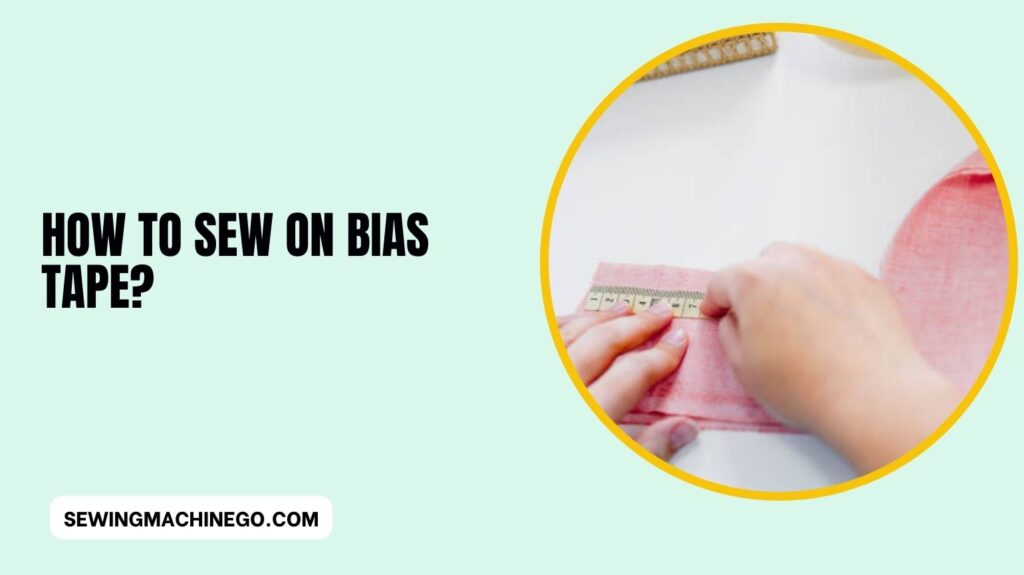
How to Sew on Bias Tape?
To sew on bias tape, start by aligning it along the edge of the fabric. Pin or clip it in place and stitch along the crease closest to the edge.
Fold the bias tape over the raw edge, enclose it, and sew along the folded edge to secure it. Repeat on both sides for a clean, finished look. Ironing the tape before sewing helps maintain its shape and ensures a neat outcome.
Introduction to Bias Tape
Here is the Introduction to Bias Tape:
What is bias tape?
Bias tape, also known as bias binding, is a strip of fabric cut diagonally across the grain.
This diagonal cut gives the tape flexibility and stretch, enabling it to curve smoothly around the edges. It comes in various widths, colors, and materials, such as cotton, polyester, or satin.
Types of bias tape
There are two main types: single-fold and double-fold. Single-fold bias tape is folded once, enclosing the raw edge when sewn. Double-fold bias tape is folded twice, concealing both raw edges.
Importance of bias tape in sewing
Bias tape serves multiple purposes, from providing a clean finish to edges to reinforcing seams. It adds durability and aesthetics to sewing projects, making it a fundamental tool for both beginners and experienced sewers.
Choosing and Preparing Bias Tape
Here are the Choosing and Preparing Bias Tape:
Selecting the right bias tape
Consider the fabric weight, color contrast, and width when choosing bias tape. For beginners, wider tapes might be easier to work with, while thinner tapes offer a delicate finish.
Preparing the fabric and bias tape
Before application, ensure the fabric edges are clean and pressed. Iron the bias tape flat to prevent wrinkles or creases during sewing.
Different Methods of Sewing Bias Tape
Here are the Different Methods of Sewing Bias Tape:
Single-fold bias tape application
Pin the unfolded side of the bias tape to the fabric edge, sewing close to the inner fold. Carefully fold it over the raw edge, securing it with stitching.
Double-fold bias tape application
Align the unfolded side with the fabric edge, sewing along the first crease. Then, fold the tape over the edge, enclosing it, and stitch it close to the inner fold.
Continuous bias tape
Creating continuous bias tape involves cutting a single strip of fabric in a spiral, allowing for a continuous length of bias tape without seams.
Tools and Techniques for Sewing Bias Tape
Here are the Tools and Techniques for Sewing Bias Tape:
Sewing machine vs hand stitching
While a sewing machine offers speed and precision, hand stitching allows for more control over intricate details.
Essential tools for sewing bias tape
Use tools like a bias tape maker, sewing clips or pins, and a seam ripper for precise application.
Tips for neat and precise stitching
Maintain an even stitch length and practice sewing on scrap fabric to perfect the technique before applying bias tape to the actual project.
Troubleshooting Common Issues
Here are the Troubleshooting Common Issues:
Dealing with puckering or stretching
Adjust tension settings on the sewing machine or use a walking foot to prevent fabric distortion.
Ensuring even stitching
Practice consistent seam allowance and use a fabric marker to guide stitching lines.
Fixing corners and curves
For corners, miter them by folding the bias tape at a 45-degree angle. For curves, make small snips along the tape’s edge to help it bend smoothly.
Creative Applications of Bias Tape
Embellishments and decorative use
Experiment with contrasting colors or patterns to add flair to hems, pockets, or necklines.
Alternative ways to incorporate bias tape in projects
Aside from edging, bias tape can be used for straps, ties, or creating custom piping for a unique touch.
People also ask
What is the best stitch for bias tape?
The best stitch for bias tape is typically a straight stitch or a zigzag stitch.
The straight stitch works well for securing the tape in place, while a zigzag stitch helps prevent fraying and provides extra durability to the edges.
How do you join bias tape when sewing?
To join bias tape when sewing, overlap the ends at a right angle, then stitch diagonally from corner to corner.
Trim excess fabric and press the seam open for a seamless, continuous strip of bias tape.
How do you sew double fold bias tape?
To sew double-fold bias tape, start by aligning the unfolded edge with the raw fabric edge. Stitch close to the inner fold.
Then, fold the bias tape over the edge, encasing it, and stitch along the edge of the tape to secure it in place.
How do you finish seams with bias tape?
To finish seams with bias tape, sandwich the raw seam between the bias tape, aligning the tape’s edges with the fabric edges.
Stitch along the fold line of the bias tape, enclosing the seam allowance for a clean finish.
Conclusion
In Conclusion, Mastering the technique of sewing on bias tape can elevate your sewing projects.
With precision, practice, and attention to detail, you can beautifully finish edges, add accents, and bring a professional touch to your creations.
Explore various methods, find what works best for you, and let your creativity flourish through this versatile sewing skill.

Hi, I am Alice, and I am your perfect guide to the world of sewing machines. With over 10 years of experience in the sewing industry, I am passionate about sharing my knowledge and expertise to help you make the most of your sewing journey. about me