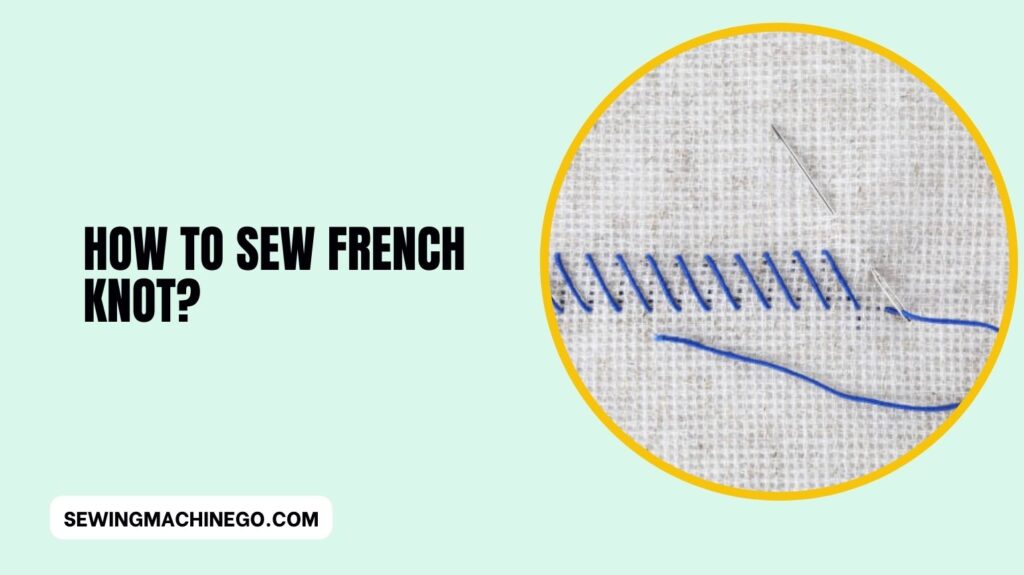
How to Sew French Knot? (Best Sewing Guide) In 2023
How to Sew French Knot? Embroidery is an age-old craft that allows individuals to express their creativity through delicate stitches and intricate designs.
Among the various embroidery techniques, the French knot stands out as a charming and versatile stitch that adds a touch of elegance to any project.
In this comprehensive guide, we’ll explore the history, step-by-step instructions, and creative applications of sewing French knots.

History of French Knots
French knots have a rich history dating back centuries. Originating in Asia, this delicate stitch found its way into European embroidery traditions,
gaining popularity during the Renaissance. Today, French knots are celebrated for their cultural significance and timeless beauty.
Materials Needed
Before diving into the art of sewing French knots, gather the necessary materials. These include an embroidery hoop, a suitable fabric, a needle, and thread. Don’t forget a pair of sharp scissors for precise cutting.
Step-by-Step Guide for How to Sew French Knot?
Setting up the Embroidery Hoop
Begin by securing your fabric in an embroidery hoop. This not only stabilizes the fabric but also ensures uniform tension, essential for creating flawless French knots.
Choosing the Right Fabric
Select a fabric that complements your project. Beginners often find success with tightly woven fabrics, as they provide a stable surface for stitching.
Threading the Needle
Thread your needle with embroidery floss or thread. Ensure the thread matches your fabric and project requirements. A single strand is suitable for delicate knots, while thicker threads create more prominent knots.
Creating the Foundation Stitches
Establish a foundation for your French knots by stitching a few straight stitches or creating a small circle with your thread. This provides a base for the knots to sit on.
Forming the French Knot
Insert the needle from the back to the front of the fabric where you want the knot. Hold the thread taut with your non-dominant hand and wrap it around the needle two or three times.
Insert the needle back into the fabric close to where it emerged, holding the wraps in place. Gently pull the needle through, securing the wraps into a tight knot.
Finishing the Knot
After completing the knot, make sure it sits flush with the fabric. To secure it further, you can make a small stitch on the back of your work.
Common Mistakes to Avoid
When mastering the art of sewing French knots, a few common mistakes can hinder your progress. Avoid these pitfalls to achieve beautiful and precise knots:
- Pulling Too Tight: Tugging the thread excessively while making the knot can distort its shape and cause the fabric to pucker. Maintain a gentle tension for a well-formed knot.
- Using the Wrong Thread or Needle: Thick or coarse thread might create bulky knots, while a needle with a small eye can make threading difficult. Ensure your needle and thread are compatible for smoother knotting.
- Incorrect Placement: Placing the needle too close or too far from the entry point may result in uneven or messy knots. Aim for consistency in placement to achieve uniform knots.
- Insufficient Wraps: Not wrapping the thread around the needle enough times can lead to loose or small knots. Ensure you wrap the thread the desired number of times for a full and defined knot.
- Skipping Knotting Steps: Rushing through the knotting process, such as not anchoring the thread properly or not holding the loop while pulling the needle through, can lead to unraveling or loose knots. Take your time and follow each step diligently.
By avoiding these common mistakes and practicing with patience, you’ll enhance your French knotting skills, creating beautifully textured designs on your fabric.
Tips for Perfecting Your French Knots
Here are the Tips for Perfecting Your French Knots:
Practice on a Scrap Fabric
Before starting a project, practice French knots on a scrap piece of fabric. This allows you to refine your technique without the pressure of perfection.
Experiment with Different Tensions
Adjusting the tension of your thread affects the size and appearance of the French knot. Experiment with loose and tight tensions to achieve the desired effect.
Incorporate French Knots into Various Projects
Don’t limit yourself to traditional uses. French knots can embellish clothing, enhance home décor, and personalize gifts. Get creative and experiment with different applications.
Creative Applications
French knots offer endless possibilities for creativity. Enhance your clothing items, add flair to home décor, and create personalized gifts that leave a lasting impression.
Troubleshooting
Embarking on the journey of sewing French knots can be an exciting yet challenging endeavor. As you navigate the delicate art of embroidery, you may encounter various issues that could impede your progress.
Fear not! This troubleshooting guide is here to address common challenges and provide practical solutions.
Untangling Knots
Issue: French knots often result in tangled threads on the back of the fabric.
Solution: To prevent tangled knots, ensure the wraps around the needle are neat and not overlapping. When pulling the needle through, hold the wraps taut, and avoid letting them twist around each other.
Fixing Uneven Stitches
Issue: The French knots appear uneven or vary in size.
Solution: Inconsistent tension is a common culprit. Experiment with different thread tensions, and make sure to maintain a steady and controlled hand movement while creating the knots. Consistent practice will improve your stitch uniformity.
Dealing with Thread Breakage
Issue: Your thread keeps breaking during the knotting process.
Solution: Check that your needle is appropriate for the thickness of the thread. If using a thicker thread, opt for a larger needle with a wider eye. Additionally, shorter lengths of thread can minimize breakage, so avoid using overly long strands.
Knots Not Sitting Flush
Issue: French knots don’t lay flat against the fabric surface.
Solution: After creating the knot, gently tug on the thread to ensure it sits snugly against the fabric. If the knot still appears raised, adjust your technique by tightening the wraps around the needle or experimenting with different thread thicknesses.
Difficulty Piercing Fabric
Issue: The needle struggles to penetrate the fabric smoothly.
Solution: Use a needle with a sharp point suitable for the fabric you’re working on. Tightly woven fabrics may require a thinner, sharper needle, while thicker fabrics may necessitate a sturdier needle.
Benefits of Learning French Knots
Embroidery, especially French knots, provides therapeutic and relaxing benefits. Engaging in this craft promotes mindfulness and creativity while connecting you to a rich cultural tradition.
Inspiration from Expert Crafters
Discover the stories of skilled embroidery artists who have mastered the art of French knots. Explore their unique approaches and styles to find inspiration for your own projects.
Online Resources and Communities
Embark on your embroidery journey by exploring online resources and joining communities of like-minded individuals. Websites, forums, and social media groups provide valuable insights, tips, and a sense of community.
Sewing French Knots for Beginners
If you’re new to embroidery, start with simplified techniques and gradually progress to more complex designs. With practice, you’ll develop the skills needed to create beautiful French knots.
Common Myths About French Knots
Addressing misconceptions surrounding French knots is crucial for beginners. Demystify the challenges and embrace the beauty of this timeless embroidery technique.
Embroidery Kits for French Knots
For beginners, investing in a quality embroidery kit can provide essential materials and guidance. Look for kits that cater to your skill level and offer a variety of patterns to explore.
People also ask
How to do French knots step by step?
To create French knots:
Thread the Needle: Thread a needle with embroidery floss. For a French knot, a single strand or a few strands of floss work well.
Start from the Back: Bring the needle up through the fabric from the back at the point where you want the knot.
Hold the Thread: Hold the thread taut with your non-needle hand, leaving a short tail.
Wrap the Needle: Wrap the working thread around the needle 2-3 times, close to the fabric.
Insert the Needle: Insert the needle back into the fabric close to where it came up, holding the wraps in place.
Pull Tight: Gently pull the needle through while keeping the wraps secure. Hold the tail with your non-needle hand to control tension.
Complete the Knot: Once the needle is through, carefully release the wraps and pull the thread tight to form a knot.
How many times do you wrap thread for a French knot?
Typically, you wrap the thread around the needle for a French knot about 2 to 3 times.
The number of wraps can vary based on personal preference and the desired size of the knot.
Experiment with different wrap counts to achieve the look you want in your embroidery.
How to do lazy daisy stitch?
To create a lazy daisy stitch:
Start with a Single Stitch: Bring the needle up through the fabric at the starting point of the petal.
Form a Loop: Insert the needle back into the fabric at the same point, creating a small straight stitch.
Anchor the Loop: Bring the needle up again a short distance from the starting point, inside the loop of the straight stitch. Do not pull the thread completely through; leave a loop.
Secure the Petal: Holding the loop in place with your non-needle hand, insert the needle back down through the fabric a short distance away, securing the loop and forming a petal shape.
Repeat: Repeat these steps for each petal, adjusting the size and spacing as needed.
End the Stitch: To end the lazy daisy stitch, secure the last loop by taking the needle down through the fabric and knot the thread on the back.
What can you use instead of a French knot for cross stitch?
Instead of French knots in cross stitch, you can use alternative stitches or techniques for a similar effect.
Some options include using seed stitches, beads, or small cross stitches to represent the same texture or detail in your embroidery.
Choose a substitute based on the look you want to achieve in your cross-stitch project.
Conclusion
In conclusion, mastering the art of sewing French knots opens the door to a world of creative possibilities.
Whether you’re a seasoned embroiderer or a beginner, the charm and versatility of French knots make them a valuable addition to your repertoire.
Embrace the learning process, experiment with different techniques, and let your creativity flow through each delicate stitch.

Hi, I am Alice, and I am your perfect guide to the world of sewing machines. With over 10 years of experience in the sewing industry, I am passionate about sharing my knowledge and expertise to help you make the most of your sewing journey. about me


