What is Sewing Machine Tension? (Ultimate Guide) of 2023
Sewing can be a truly rewarding and creative hobby, but every sewing enthusiast knows that the quality of your stitches largely depends on one crucial factor – the tension of the sewing machines.
In this comprehensive guide, we will delve into the world of sewing machine tension, demystifying its intricacies, troubleshooting common problems, and offering tips to ensure that your sewing projects are always a cut above the rest.
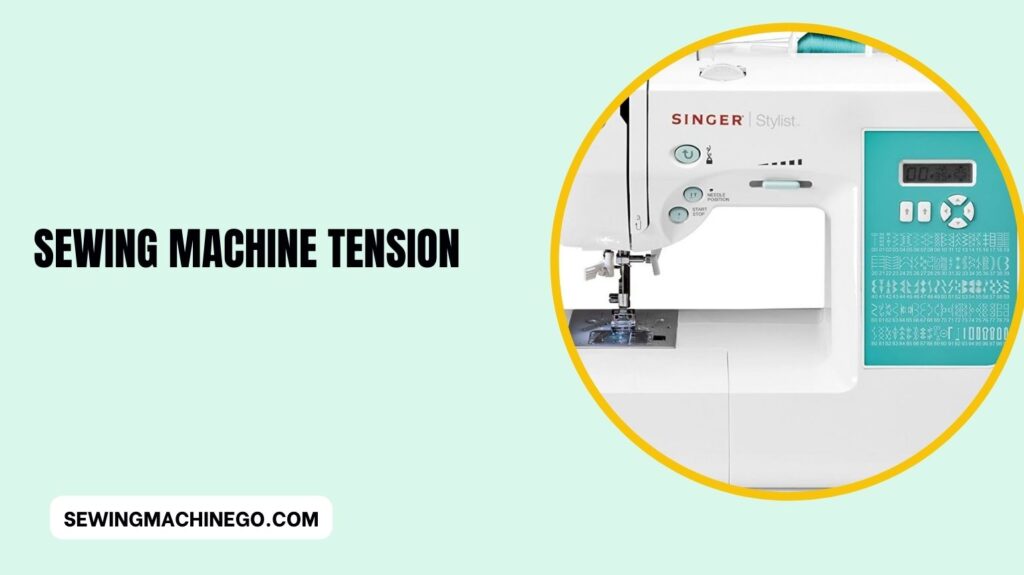
The Sewing Machine Tension
Sewing machines tension is like the delicate balance of yin and yang. It ensures that the top and bottom threads intertwine perfectly, resulting in neat and even stitches. In essence, it holds the fabric together, making every seam a work of art.
Types of Tension Sewing Machines
Balanced Tension
Balanced tension is the ideal scenario where the top and bottom threads meet seamlessly in the middle of the fabric. Achieving this balance is essential for beautiful, uniform stitches.
Top Tension
Top tension refers to the tension in the upper thread. You can adjust it according to the specific fabric and sewing technique you’re using.
Bobbin Tension
The bobbin tension controls the lower thread’s tension. Properly adjusting this tension is vital for overall stitch quality.
Signs of Incorrect Tension
If your sewing machine’s tension is off, it can manifest in various ways:
- Loose stitches
- Puckering
- Thread breakage
- Uneven stitching
Understanding these signs is the first step in troubleshooting your tension of sewing machine.
How to Adjust Sewing Machine’s Tension?
Top Tension Adjustment
To adjust the top tension, consult your sewing machine’s manual. Usually, it involves a simple dial or knob that you can turn to increase or decrease the tension.
Bobbin Tension Adjustment
Bobbin tension can be trickier to adjust, and it’s recommended to leave this to professionals. However, understanding the basics can help you recognize when something’s amiss.
Common Sewing Machines Tension Issues and Solutions
Loose Stitches
Loose stitches are often a sign of too little top tension. Tighten the top thread and ensure proper threading.
Puckering
Puckering can result from excessive tension. Loosen the thread slightly to resolve this issue.
Thread Breakage
Thread breakage may indicate overly tight tension. Loosen the tension and check for any thread jams.
Uneven Stitching
Uneven stitching can be caused by imbalanced tension. Ensure both top and bobbin tensions are properly set.
Maintaining Proper Tension
Maintaining proper sewing machines tension is an ongoing process. Regularly check and adjust it, as factors like thread type, fabric, and needle can influence it.
Best Practices for Different Fabrics
Different fabrics may require varying tension settings. Always test on a fabric scrap before starting your project to ensure the tension is just right.
Impact of Thread and Needle Selection on Tension
The type of thread and needle you use can significantly affect your machine’s tension. Understanding these factors is key to achieving excellent results.
Importance of Regular Cleaning and Maintenance
Regular cleaning and maintenance of your sewing machine are essential. Dust and lint can interfere with the tension, leading to sewing problems.
Troubleshooting Sewing Machines Tension Problems
If you encounter sewing machines tension problems, don’t worry; they are common and can be resolved. Here’s a list of common tension issues and how to troubleshoot them:
- Loose Stitches:
- Troubleshooting: Loose stitches are often a sign of insufficient top tension. To fix this, increase the top thread tension slightly and test on scrap fabric to ensure it’s not too tight.
- Puckering:
- Troubleshooting: Puckering can result from excessive tension. Loosen the thread slightly and ensure that the fabric feeds smoothly through the machine.
- Thread Breakage:
- Troubleshooting: Thread breakage may indicate overly tight tension. Loosen the tension slightly, and also check for any thread jams or knots in the thread path.
- Uneven Stitching:
- Troubleshooting: Uneven stitching can be caused by imbalanced tension. Ensure that both top and bobbin tensions are correctly set. If needed, make small adjustments until the stitching is even.
- Looping on the Bottom:
- Troubleshooting: If you notice loops on the underside of your fabric, it could be due to loose bobbin tension. Tighten the bobbin tension slightly and test again.
- Thread Knots or Snags:
- Troubleshooting: If your thread keeps knotting or snagging, it may be due to a damaged or old needle. Replace the needle and ensure it’s the correct type and size for your fabric.
- Fabric Not Feeding Properly:
- Troubleshooting: Sometimes tension issues can cause fabric not to feed properly. Recheck the top and bobbin tensions, and make sure the fabric is feeding smoothly without any obstructions.
- Inconsistent Tension Throughout the Project:
- Troubleshooting: If you experience tension inconsistencies throughout your project, ensure that you’ve threaded the machine correctly and that your thread spool is placed on the machine in the right direction.
- Thread Bunching in the Bobbin Area:
- Troubleshooting: Thread bunching in the bobbin area can be a result of bobbin issues. Check that the bobbin is correctly wound and inserted and that the bobbin tension is properly adjusted.
- Needle Breakage:
- Troubleshooting: If needles break frequently, it may be due to incorrect tension or using a needle that’s too small for the fabric. Adjust the tension and ensure you’re using the appropriate needle.
- Top Thread Showing on the Bottom (or Vice Versa):
- Troubleshooting: When the top thread shows on the bottom or vice versa, it often indicates imbalanced tension. Adjust both top and bobbin tensions until the threads meet in the middle of the fabric.
- Stitch Skipping:
- Troubleshooting: Stitch skipping can occur when the top thread isn’t properly engaged with the bobbin thread. Rethread the machine and check for any obstructions in the thread path.
Expert Tips for Perfect Tension
- Experiment with different tensions on scrap fabric.
- Use high-quality thread for best results.
- Keep your machine well-oiled for smooth operation.
Tension and Embroidery Machines
Embroidery machines have their unique tension requirements. Always refer to your embroidery machine’s manual for the best settings.
Tension and Quilting Machines
Quilting machines also need specific tension settings. Understanding these settings can make quilting a breeze.
People also ask
What is the higher number on a tension of sewing machines?
The higher number on a tension of sewing machines dial indicates increased thread tension.
Which knob is the tension on a sewing machine?
The tension knob on a sewing machine is typically located on the front or top of the machine, controlling the tension of the upper thread.
What should sewing machines tension be set at?
The ideal sewing machine’s tension setting can vary depending on the fabric and thread you’re using.
Typically, a tension setting of 4 to 5 on a 1 to 9 scale is a good starting point for most sewing projects.
However, it’s crucial to adjust the tension as needed based on your specific fabric and thread choices, and you may need to do some test stitching on scrap fabric to achieve the perfect tension for your project.
Always consult your sewing machine’s manual for guidance on the recommended tension settings.
What does correct thread tension look like?
Correct thread tension will result in balanced stitches where the top and bottom threads meet in the middle of the fabric.
The stitches should appear even on both sides, and there should be no loose loops or puckering.
Conclusion: The Thread That Binds It All
In conclusion, understanding and adjusting tension for sewing machine is essential for achieving high-quality stitching and impeccable sewing results.
Whether you’re a novice or an experienced seamstress, the proper tension settings ensure that your fabric remains free from puckering or bunching.
By mastering this fundamental aspect of sewing, you’ll be well on your way to creating beautiful, professional-grade projects with ease.

Hi, I am Alice, and I am your perfect guide to the world of sewing machines. With over 10 years of experience in the sewing industry, I am passionate about sharing my knowledge and expertise to help you make the most of your sewing journey. about me