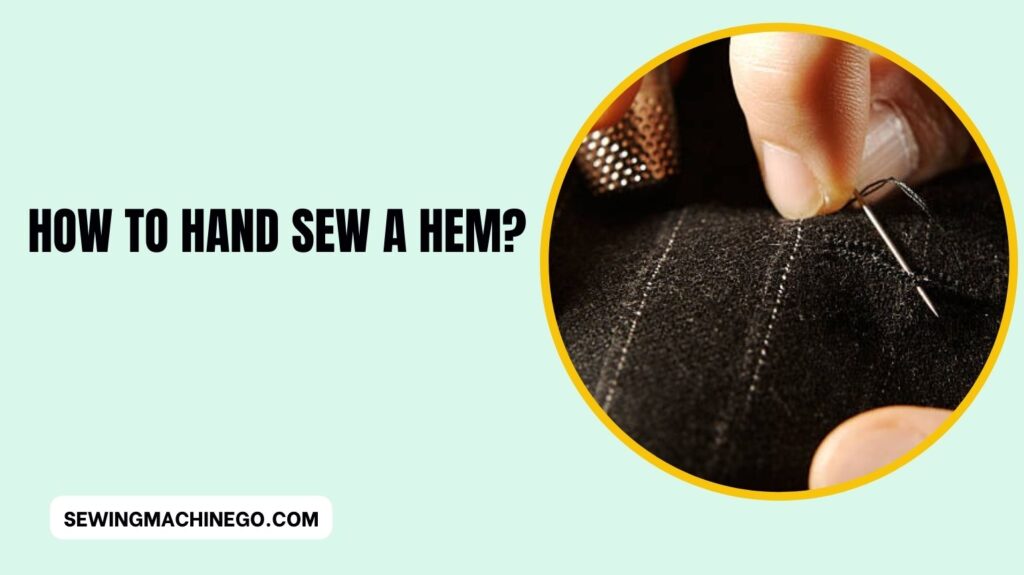
How to Hand Sew a Hem? Best Sewing Guide In 2023
Embarking on the journey of sewing can be both fulfilling and practical, especially when it comes to the fundamental skill of hand sewing a hem.
How to Hand Sew a Hem? Hems not only lend a polished finish to garments but also serve as a vital technique for alterations or creating DIY projects.
Mastering this hand-sewing skill opens a door to personalizing, repairing, or customizing clothing with precision and finesse.
How to Hand Sew a Hem?
Embarking on the journey of hand sewing a hem requires a basic understanding of the craft. Whether you’re a seasoned seamstress or a novice, the art of hand sewing brings a unique charm to your creations.
A well-sewn hem not only ensures the longevity of your garments but also adds a touch of craftsmanship that sets your pieces apart.
Gathering Materials
Before you start, gather the necessary materials – needle, thread, fabric, and scissors.
The choice of fabric and thread is crucial, as it impacts the overall durability and aesthetic appeal of the hem. Selecting the right combination sets the foundation for a successful hand-sewn hem.
Preparing the Fabric
Measure and mark the hem accurately, and take extra care when cutting the fabric. Precision in these initial steps ensures a seamless finish. Remember, a well-prepared fabric makes the sewing process smoother and more enjoyable.
Choosing the Right Stitch
There are various hand stitches suitable for hems. Consider the fabric type and choose a stitch that complements it. This step significantly contributes to the overall look and feel of the finished hem.
Threading the Needle
Threading a needle may seem basic, but doing it correctly is essential. Use the right needle size and ensure the thread is securely threaded to prevent interruptions during the sewing process.
Starting the Stitch
Starting the stitch correctly sets the tone for the entire hem. Learn techniques to begin securely, avoiding knots and tangles that could compromise the quality of your hand-sewn hem.
Executing the Hem Stitch
Now comes the core of the process – the actual hem stitch. We’ll delve into the chosen stitch, providing a detailed guide to ensure uniformity and strength in your hand-sewn hems.
Securing the End
Finishing the stitch neatly is as crucial as starting it. Explore techniques to secure the end of your hem, preventing unraveling and ensuring a polished final look.
Pressing and Finishing
Pressing the hem is often an overlooked step but contributes significantly to the professional appearance of your garment. Learn the importance of this step and discover tips for final touches and inspection.
Troubleshooting Common Issues
Hand sewing a hem can be a gratifying experience, but like any craft, it comes with its challenges.
Here, we’ll address common issues you might encounter and provide practical solutions to ensure your hand-sewn hems are flawless.
1. Uneven Stitching
Issue:
Uneven stitches can disrupt the overall appearance of your hem, making it look unprofessional.
Solution:
Take your time and maintain a consistent stitch length. Practice on scrap fabric before starting on your actual project. Use a ruler or fabric marker to guide your stitches and ensure uniformity.
2. Fabric Puckering
Issue:
Puckering occurs when the fabric gathers and creates small wrinkles along the hemline.
Solution:
Choose the right needle and thread for your fabric. Ensure your stitches aren’t too tight, and use an embroidery hoop to keep the fabric taut while sewing. Pressing the hem with a warm iron can also help smooth out puckered areas.
3. Knots and Tangles
Issue:
Frequent knots and tangles in your thread can slow down the sewing process and affect the quality of your stitches.
Solution:
Thread your needle carefully, ensuring there are no snags. Use a waxed thread to minimize tangles. If you encounter a knot, gently undo it, and consider rethreading your needle to prevent further issues.
4. Invisible Knots
Issue:
While you want your knots secure, an overly bulky knot can create a visible and unattractive bump in your hem.
Solution:
Practice creating small, secure knots that are not overly bulky. Position the knot close to the fabric without pulling too tightly, ensuring it remains inconspicuous.
5. Uneven Hem Length
Issue:
Having sections of your hem longer or shorter than intended can compromise the overall look of your garment.
Solution:
Double-check your measurements before cutting and sewing. Mark the hem with fabric chalk or pins, and periodically measure as you sew to ensure consistency.
6. Fabric Fraying
Issue:
Certain fabrics may fray easily, especially along the cut edges, leading to a messy appearance.
Solution:
Consider using a fray-check solution on the fabric edges before sewing. Alternatively, fold the edges twice before stitching to encase the raw edges and prevent fraying.
7. Difficulty Starting the Stitch
Issue:
Getting the first few stitches right can be challenging, leading to frustration.
Solution:
Practice a secure starting technique on scrap fabric. Techniques like a backstitch or small anchoring stitches can help ensure a stable beginning without knots.
8. Thread Bunching on the Back
Issue:
A common issue with hand sewing is the thread bunching up on the backside of the fabric.
Solution:
Check the tension of your stitches; they should be neither too loose nor too tight. Additionally, make sure your needle is threaded correctly and that the bobbin is properly wound.
Advantages of Hand Sewing
Discover the unique benefits of hand-sewn hems, from the personal touch they add to the ability to focus on intricate details that may be overlooked with machine sewing.
Sustainability and Hand Sewing
Explore how hand sewing aligns with sustainability goals. By opting for handmade hems, you contribute to reducing environmental impact and fostering a more conscious approach to fashion.
Tips for Beginners
For those new to hand sewing, we offer encouragement and valuable tips. Remember, every mistake is an opportunity to learn and improve your skills.
Embarking on your hand-sewing journey? Here are quick tips to make your experience smoother:
- Start Simple: Begin with straightforward projects to build confidence.
- Use Quality Tools: Invest in good needles, thread, and fabric for better results.
- Practice Regularly: Improvement comes with practice, so don’t be afraid to experiment.
- Take Breaks: Avoid fatigue; take short breaks to maintain focus and precision.
- Learn Basic Stitches: Master basic stitches like running stitch and backstitch before progressing.
- Measure Twice, Cut Once: Ensure accurate measurements before cutting your fabric.
- Good Lighting: Adequate lighting reduces eye strain and improves accuracy.
- Secure Knots: Learn to tie secure knots at the beginning and end of your stitches.
- Be Patient: Rome wasn’t sewn in a day. Take your time for better results.
- Ask for Guidance: Seek advice from experienced sewers and learn from their expertise.
Personalizing Hems
Go beyond the basics and explore creative ways to personalize your hems. Whether it’s through embroidery or decorative stitches, add your unique flair to each hand-sewn hem.
People also ask
What is the best stitch for hand sewing hem?
The best stitch for hand-sewing a hem is often the slip stitch. This nearly invisible stitch creates a clean, finished look on the outside while securing the fabric neatly on the inside.
Its versatility makes it suitable for various fabrics, providing a professional and polished hem.
How do you hand stitch a hem on stretchy fabric?
When hand stitching a hem on stretchy fabric, use a zigzag stitch or a stretch stitch.
These stitches accommodate the fabric’s elasticity, preventing the thread from breaking when the fabric stretches.
Additionally, consider using a ballpoint needle designed for knit fabrics to avoid snagging or damaging the stretchy material.
How do you sew the bottom of pants by hand?
To hand sew the bottom of the pants, start by folding the fabric inside at the desired length. Use a slip stitch or a blind hem stitch for a discreet finish.
Ensure even stitching, and periodically try on the pants to confirm the desired length. Finish with a secure knot, and press the hem for a polished look.
How to do a hand stitched rolled hem?
To hand-stitch a rolled hem, follow these steps:
Fold the Fabric: Turn the fabric edge twice to create a narrow fold.
Secure the Beginning: Stitch a small anchor stitch to secure the initial fold.
Roll and Stitch: Roll the fabric edge as you stitch, creating a neat and rolled appearance.
Consistent Stitching: Maintain even spacing and tension for a uniform rolled hem.
Secure the End: Finish with a secure knot or anchoring stitch.
Press the Hem: Use a warm iron to press the rolled hem for a professional finish.
Conclusion
In conclusion, hand sewing a hem is more than a practical skill—it’s an art form that allows you to infuse your creations with personality and style.
By following these steps, you’ll not only master the technique but also discover the joy of creating garments that stand out.

Hi, I am Alice, and I am your perfect guide to the world of sewing machines. With over 10 years of experience in the sewing industry, I am passionate about sharing my knowledge and expertise to help you make the most of your sewing journey. about me