How to Remove Sewing Machine from Cabinet? (Detailed Guide)
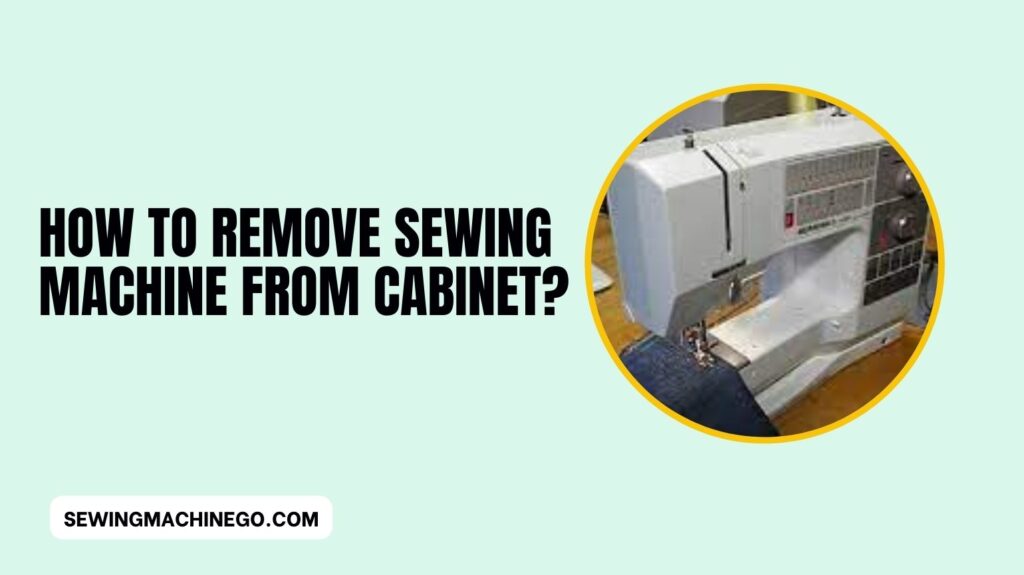
How to Remove Sewing Machine from Cabinet? If you’re a sewing enthusiast, you likely have a sewing machine set up within a cabinet to provide a dedicated workspace.
However, there comes a time when you might need to move or replace your sewing machine. Whether you’re upgrading to a new machine or simply rearranging your sewing area, removing a sewing machine from its cabinet requires careful attention to detail.
In this guide, we’ll walk you through the step-by-step process of safely and efficiently removing your sewing machine from the cabinet.
How to Remove Sewing Machine from Cabinet?
Removing a sewing machine from a cabinet might seem like a daunting task, but with the right approach, it can be done smoothly.
By following the right steps and taking proper precautions, you can ensure the safety of both your sewing machine and yourself.
Gather Your Tools
Before you start the removal process, make sure you have the necessary tools on hand.
You’ll need a screwdriver (usually Phillips or flat-head, depending on your machine), a soft cloth or towel, and a small container for keeping track of screws and small parts.
Prepare Your Workspace
Choose a well-lit and spacious area for the removal process. Clear off any clutter from your workspace to avoid any accidents or obstructions during the process.
Unplug the Machine
Start by disconnecting the sewing machine from the power source. Unplug the power cord and foot pedal to ensure your safety while working on the removal.
Remove the Accessories
Take off any accessories attached to the sewing machine, such as the presser foot, needle, and bobbin case. Place them in a safe spot to avoid misplacing them.
Release the Latch or Fasteners
Depending on the type of cabinet you have, there might be a latch or fasteners holding the sewing machine in place. Carefully release them to free the machine from the cabinet.
Lift the Machine Carefully
Here comes the most critical step. With a firm grip, gently lift the sewing machine out of the cabinet. Make sure to lift it straight up to avoid any unnecessary strain on the machine or cabinet.
Detach Any Remaining Cords
As you lift the machine, check for any remaining cords or wires still attached. Carefully disconnect them to avoid damage.
Clean and Maintain
While the machine is out of the cabinet, take the opportunity to clean the cabinet’s interior. Dust and debris can accumulate over time, affecting your sewing machine’s performance.
Secure the Cabinet
If you plan to continue using the cabinet for other purposes, ensure that it’s secure and stable. Tighten any screws or fasteners that might have loosened over time.
Rehoming Your Sewing Machine
If you’re replacing the sewing machine with a new one, follow the manufacturer’s instructions for installing it into the cabinet. This might involve reversing the steps you took to remove the old machine.
People also ask
How do you remove a singer from a cabinet?
To remove a Singer sewing machine from a cabinet, follow these steps:
Unplug: Start by unplugging the sewing machine from the power source to ensure safety.
Accessories: Remove any attached accessories like needles or presser feet.
Release Latch: If the machine is held by a latch or fasteners, release them.
Lift Carefully: With a firm grip, lift the machine straight up from the cabinet.
Disconnect Cords: Check for any cords still attached and disconnect them.
Clean: While it’s out, clean the cabinet’s interior to remove dust.
Secure Cabinet: If needed, tighten any loose screws or fasteners.
Reinstall or Store: Place the machine back or prepare it for storage.
How do you remove a sewing machine head from a table?
To remove a sewing machine head from a table, follow these steps:
Unplug: Ensure the sewing machine is unplugged for safety.
Accessories: Remove any attached accessories like needles or bobbins.
Release Fasteners: Look for screws or fasteners securing the machine to the table.
Remove Screws: Unscrew the fasteners carefully using the appropriate tool.
Lift Off: Gently lift the sewing machine head off the table.
Disconnect Cords: Check for any cords or wires and detach them.
Store Safely: Store the sewing machine head in a secure location.
Always refer to the sewing machine’s manual for specific instructions and safety guidelines.
What can I do with an old sewing machine cabinet?
You can repurpose an old sewing machine cabinet in various ways:
Workspace: Convert it into a stylish desk or workspace for crafts or hobbies.
Storage: Use it as storage for books, art supplies, or other items.
Vanity: Transform it into a unique vanity or dressing table.
Mini Bar: Create a charming mini bar by adding shelves for bottles and glasses.
Side Table: Use it as a decorative side table for your living room or bedroom.
Plant Stand: Turn it into a plant stand for a touch of greenery indoors.
Entryway Organizer: Use the cabinet to organize keys, mail, and accessories in the entryway.
Pet Bed: Craft a cozy pet bed by adding a cushion or pillow inside.
Home Office: Convert it into a compact home office with shelves for supplies.
Can you put a new sewing machine in an old sewing cabinet?
Yes, you can put a new sewing machine in an old sewing cabinet. Measure the dimensions of the new sewing machine and ensure they match the space inside the cabinet.
Make any necessary adjustments, such as removing or adding shelves or brackets, to accommodate the new machine securely.
Keep in mind that the cabinet should provide proper support and stability for the new sewing machine while allowing easy access to controls and features.
Conclusion
In conclusion, safely removing a sewing machine from its cabinet involves a few straightforward steps.
Begin by unplugging the machine and clearing the surrounding area. Gently slide out the machine from the cabinet, taking care not to force it.
If there are any securing screws or brackets, remove them as necessary. Once detached, place the sewing machine on a stable surface.
Remember, patience and caution are key throughout the process to prevent any damage to the machine or the cabinet.
Following these steps will ensure a smooth and successful removal of the sewing machine from its cabinet.

Hi, I am Alice, and I am your perfect guide to the world of sewing machines. With over 10 years of experience in the sewing industry, I am passionate about sharing my knowledge and expertise to help you make the most of your sewing journey. about me


