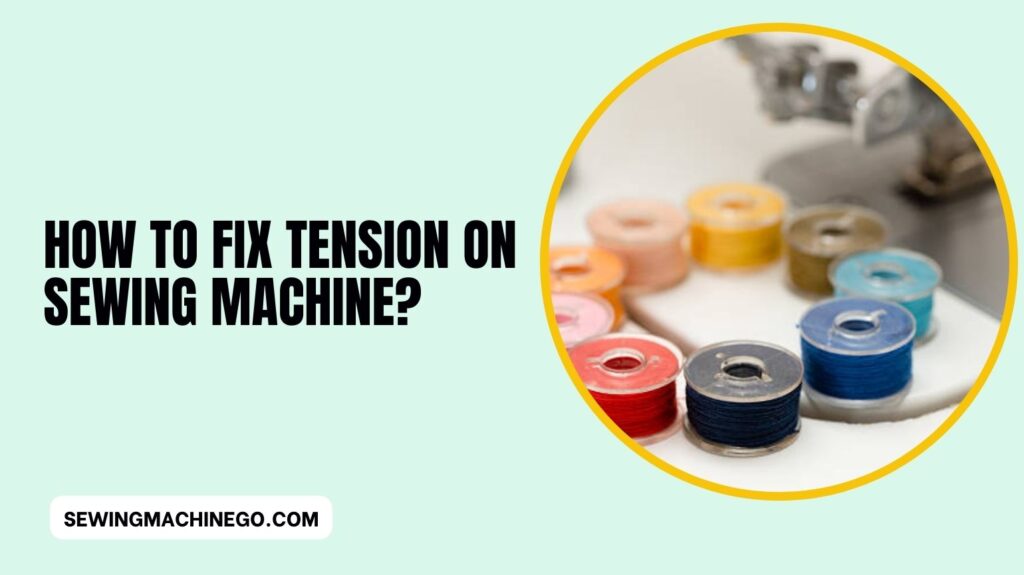
How to Fix Tension on Sewing Machine? (Practical Guide)
Sewing enthusiasts, whether beginners or seasoned experts understand the frustration of a sewing machine acting up due to tension issues. How to Fix Tension on Sewing Machine? It can be a real hassle when the stitches are not coming out as desired.
In this article, we’ll guide you on how to fix tension on a sewing machine and get back to your creative projects with ease.
How to Fix Tension on Sewing Machine?
Sewing machine tension is a critical factor in achieving high-quality stitching. It refers to the balance between the upper and lower threads in your sewing machine.
When the tension is off, it can lead to various problems like loose or tight stitches, thread bunching, and fabric puckering.
In this comprehensive guide, we will walk you through the steps to troubleshoot and fix sewing machine tension issues.
Understanding Sewing Machine Tension
Sewing machine tension involves two threads: the upper thread and the lower thread. These threads must work together harmoniously to create even and secure stitches. Let’s delve into the specifics of each:
Upper Thread Tension
The upper thread tension is regulated by the tension dial on your sewing machine. It controls how tight or loose the upper thread is while forming stitches. Proper upper thread tension ensures smooth and even stitching.
Lower Thread Tension
The lower thread tension is set on the bobbin case. This tension must complement the upper thread tension, creating a balanced stitch. When both tensions are in sync, you’ll achieve perfect results.
Signs of Tension Problems
Identifying tension problems is the first step in solving them. Some common signs of tension issues include:
- Uneven or irregular stitches
- Thread bunching under the fabric
- Fabric puckering or gathering
- Loose or tight stitches
- Thread breakage
Recognizing these issues early can save you time and frustration during your sewing projects.
Tools and Materials Needed
Before you begin fixing your sewing machine tension, gather the following tools and materials:
- Screwdriver (usually included with your machine)
- Scrap fabric for testing
- Small scissors
- A spool of quality thread
- A bobbin wound with the same thread
- Sewing machine manual (for reference)
Each of these items will play a crucial role in the tension adjustment process.
Step-by-Step Guide to Fix Tension on a Sewing Machine
Now, let’s get into the nitty-gritty of fixing your sewing machine tension. We’ll break it down into three key steps:
Adjusting Upper Tension
- Begin by setting your sewing machine to a straight stitch.
- Thread your machine properly, following the threading guide in your manual.
- Sew a few inches on a scrap fabric piece.
- Inspect the stitches. If they are loose, tighten the upper tension by turning the tension dial slightly clockwise. If they are too tight, turn it counterclockwise to loosen.
Adjusting Lower Tension
- Remove the bobbin case from the machine.
- Check the bobbin thread tension. Adjust it by turning the small screw on the bobbin case.
- Test the stitches on your scrap fabric again to ensure the balance between upper and lower threads.
Testing and Fine-Tuning
- Keep testing on scrap fabric until you achieve perfectly balanced stitches.
- Be patient; this may take a few attempts.
- Once your stitches look consistent and well-balanced, you’re ready to resume your sewing projects.
Preventing Tension Problems
To avoid future tension problems, consider the following tips:
- Always use high-quality thread.
- Regularly clean and oil your sewing machine.
- Change your sewing machine needle as needed.
- Ensure your bobbin is wound correctly and evenly.
By following these preventive measures, you can maintain proper tension in your sewing machine.
Troubleshooting
If you encounter issues or have questions while fixing your sewing machine tension, refer to your sewing machine manual or seek assistance from online sewing communities.
Many experienced sewers are eager to help newcomers and troubleshoot common problems.
Advanced Tips for Experienced Sewers
For those with more experience, consider these advanced tips:
- Experiment with tension settings on scrap fabric to achieve unique stitch effects.
- Learn to adjust tension for different fabric types and thicknesses.
- Master the art of tension for specialized sewing techniques like quilting or embroidery.
These advanced skills can take your sewing projects to the next level.
Common Misconceptions
Before we wrap up, let’s address some common misconceptions about sewing machine tension:
- Misconception: Tension should always be set to the same number.
- Fact: Tension settings vary based on fabric and thread choices.
- Misconception: Tension issues mean your sewing machine is faulty.
- Fact: Most tension issues can be resolved with proper adjustments and maintenance.
Sewing Machine Tension and Different Fabrics
It’s essential to understand that the ideal tension setting may vary depending on the fabric you’re working with.
Delicate fabrics may require looser tension, while heavy fabrics may need tighter tension. Always test on scrap fabric before starting your project to ensure the best results.
Online Resources and Communities
Don’t hesitate to explore online sewing resources and join communities. Sharing your experiences and seeking advice from fellow sewers can be immensely helpful.
The sewing community is known for its support and knowledge sharing.
When to Seek Professional Help
While many tension issues can be resolved at home, some situations may require professional attention.
If your sewing machine has a mechanical problem or needs servicing, it’s essential to consult a certified technician. Your safety should always be a top priority.
People also ask
What causes tension problems on a sewing machine?
Tension problems on a sewing machine can be caused by various factors, including:
Improper Thread Tension Settings: Incorrectly adjusted upper or lower thread tension settings can result in uneven stitches.
Thread Quality: Low-quality or old thread may lead to tension issues and affect stitch quality.
Thread Mismanagement: Issues, like tangled or incorrectly wound bobbins, can disrupt thread flow and cause tension problems.
Needle Issues: A damaged or dull needle can impact thread tension and result in poor stitching.
Incorrect Threading: Mistakes in threading the machine can lead to tension imbalances.
Dirty Machine: Dust and debris in the machine can hinder smooth thread movement, affecting tension.
Fabric Variations: Different fabric types may require adjustments in tension settings to achieve optimal results.
What number should the tension be on a sewing machine?
The ideal tension setting on a sewing machine can vary depending on factors such as the fabric type, thread thickness, and personal preference.
Typically, a balanced tension setting is around 4 or 5 on most machines.
However, it’s essential to consult your sewing machine’s manual and conduct test stitching on scrap fabric to determine the best tension setting for your specific project.
Adjust the tension as needed to achieve even and secure stitches.
How do you fix the bobbin tension on a sewing machine?
Fixing bobbin tension on a sewing machine involves adjusting the lower thread tension in the bobbin case.
Here are the steps to do it:
Prepare Your Machine: Turn off your sewing machine and unplug it for safety.
Access the Bobbin Case: Open the bobbin compartment on your sewing machine to access the bobbin case. Consult your machine’s manual if you’re unsure about the location.
Remove the Bobbin: Take out the bobbin from the case.
Locate the Tension Screw: Inside the bobbin case, you’ll find a small tension screw. This screw controls the lower thread tension.
Adjust the Tension: To increase tension, turn the screw clockwise. To decrease tension, turn it counterclockwise. Make small adjustments, usually a quarter-turn at a time.
Test with Scrap Fabric: After making an adjustment, thread the machine and insert the bobbin. Sew a few inches on scrap fabric to see if the bobbin tension is improved. Continue adjusting as needed until you achieve balanced stitches.
Keep a Record: If your sewing machine manual provides the recommended bobbin tension settings for different fabrics and threads, note them for future reference.
Regular Maintenance: Clean the bobbin case and surrounding area to ensure smooth thread movement and reduce the risk of future tension issues.
Conclusion
In Conclusion, Proper sewing machine tension is the key to achieving impeccable stitching.
By understanding the nuances of tension and following the steps outlined in this guide, you can ensure that your sewing projects turn out beautifully.
Remember, practice makes perfect, so don’t be discouraged by initial challenges. Keep experimenting and refining your skills.

Hi, I am Alice, and I am your perfect guide to the world of sewing machines. With over 10 years of experience in the sewing industry, I am passionate about sharing my knowledge and expertise to help you make the most of your sewing journey. about me