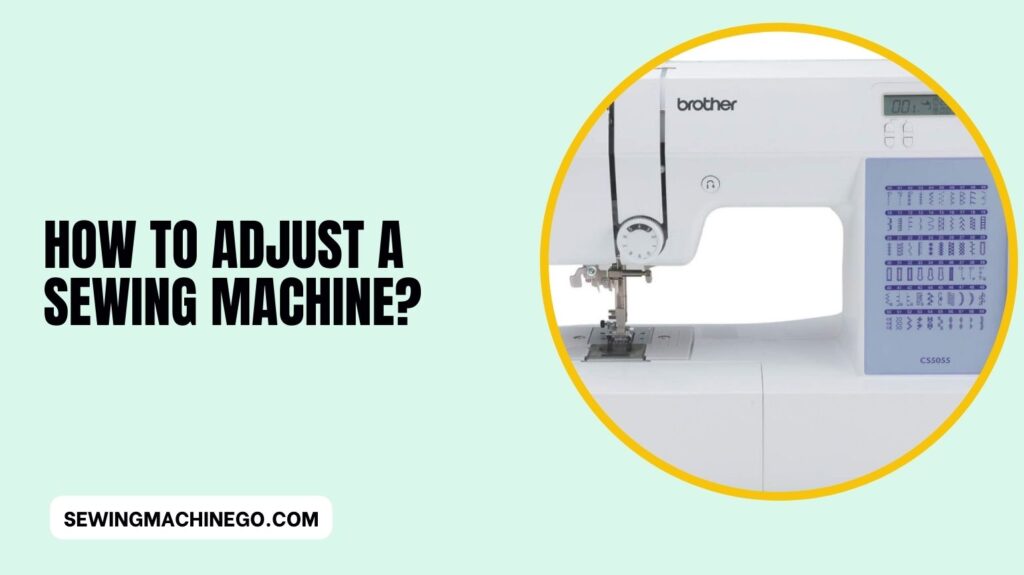
How to Adjust a Sewing Machine? (Ultimate Guide) In 2023
Sewing is a versatile and rewarding skill that empowers you to create beautiful garments, home decor, and more.
How to adjust a Sewing Machine? To master the art of sewing, one of the key elements is knowing how to adjust your sewing machine.
In this comprehensive guide, we’ll walk you through the essential steps for adjusting your sewing machine like a pro.
Whether you’re a seasoned sewist or just starting, these tips will help you achieve perfect stitches and unleash your creative potential.
How to Adjust a Sewing Machine?
Before we delve into the nitty-gritty of sewing machine adjustment, let’s understand why it’s crucial.
A well-adjusted sewing machine ensures that your stitches are even, your fabric feeds smoothly, and your sewing projects turn out as envisioned.
If your machine is not correctly adjusted, you may encounter issues like uneven stitching, thread breakage, or skipped stitches.
This can be frustrating and hinder your creative process. Learning to adjust your sewing machine is a valuable skill that every sewist should possess.
The Importance of Proper Sewing Machine Adjustment
Proper sewing machine adjustment can make a world of difference in your sewing experience. Here are some key reasons why it’s essential:
- Consistency: A well-adjusted machine produces consistent stitches and avoids irregularities in your seams.
- Ease of Use: Adjusted tension and settings make your machine easier to operate, especially for beginners.
- Professional Results: If you aim for professional-quality sewing, proper adjustment is the key to achieving it.
- Preventing Issues: Regular adjustment can help prevent common sewing machine problems.
- Prolonged Machine Life: Maintenance and adjustment extend the life of your sewing machine.
Preparing Your Sewing Machine for Adjustment
Before you start adjusting your sewing machine, it’s essential to prepare it for the process. Here are the steps to follow:
- Turn off and unplug your sewing machine for safety.
- Remove the needle and presser foot to access the machine’s internal parts.
- Have the user manual on hand for reference, as it provides specific information about your machine’s adjustment points.
Adjusting Thread Tension
Here are the Adjusting Thread Tension:
Identifying Common Tension Issues
Uneven tension can result in various sewing problems, such as loose or tight stitches. Before you adjust the tension, identify the issue by inspecting your test stitches.
Adjusting Upper Thread Tension
Properly adjusted upper thread tension ensures that the top and bottom threads are balanced. You can usually adjust it using a tension dial or knob on your machine.
Adjusting Bobbin Thread Tension
Bobbin thread tension is often adjusted through a small screw on the bobbin case. Be cautious when making these adjustments, as small changes can have a significant impact on your stitching.
Setting Stitch Length and Width
Stitch length and width affect the appearance and strength of your seams. Adjust these settings according to your project’s requirements.
Aligning the Needle
Centering the Needle
A misaligned needle can cause uneven stitching. Ensure your needle is centered within the needle plate.
Adjusting the Needle Bar
The needle bar adjustment may be necessary if your needle is not in the correct position. This adjustment may vary between sewing machine models.
Maintaining the Feed Dogs
Feed dogs are essential for moving your fabric through the machine. Regular cleaning and maintenance of the feed dogs ensure smooth fabric feeding.
Cleaning and Lubricating Your Sewing Machine
Proper cleaning and lubrication are essential for preventing friction and extending your sewing machine’s lifespan.
Troubleshooting Common Sewing Machine Problems
Here are the Troubleshooting Common Sewing Machine Problems:
Thread Breakage
If your machine experiences thread breakage, inspect the thread path and tension settings for any issues.
Skipped Stitches
Skipped stitches can be caused by various factors, including needle issues and thread tension problems. Troubleshoot each potential cause to resolve this problem.
Uneven Stitching
Uneven stitching can result from misaligned parts or incorrect tension. Adjust as needed to achieve even seams.
People also ask
How do you adjust tension on a sewing machine?
To adjust the tension on a sewing machine, follow these simple steps:
Locate the tension control dial on your sewing machine. It’s typically marked with numbers or symbols.
For tighter tension (higher number), turn the dial clockwise. For looser tension (lower number), turn it counterclockwise.
Test your machine on a piece of scrap fabric to ensure the tension is just right.
Make small adjustments until you achieve balanced stitches without loops or puckering.
How do I know if my bobbin tension is correct?
If your bobbin tension is correct, follow these steps:
Insert the wound bobbin into the bobbin case as per your sewing machine’s instructions.
Hold the loose end of the thread and let the bobbin case dangle. If the bobbin case drops slightly but doesn’t unravel completely, your tension is likely correct.
If the bobbin thread unwinds too easily or doesn’t unwind at all, you may need to adjust the bobbin tension. Consult your sewing machine manual for specific guidance on how to make these adjustments.
What is the correct setting for a sewing machine?
The correct setting for a sewing machine can vary depending on the specific fabric you’re working with and the type of stitch you’re using.
However, as a general guideline:
Tension: For most sewing projects, a mid-range tension setting (around 4 or 5 on a scale of 1-10) is a good starting point. Adjust from there based on the fabric and stitching results.
Stitch Length: Use a medium stitch length (around 2.5) for regular sewing. Shorten the stitch for delicate fabrics and lengthen it for heavy materials.
Stitch Width: For straight stitching, set the width to zero. For zigzag or decorative stitches, adjust the width as desired.
Needle: Use the appropriate needle size and type for your fabric. Fine needles for lightweight fabrics, and thicker needles for heavy materials.
Why is my sewing machine looping underneath?
If your sewing machine is looping underneath the fabric, it is likely due to incorrect tension settings or threading issues.
Here are some common reasons for this problem:
Bobbin Tension: Check the tension of the bobbin thread. If it’s too loose, it can result in loops underneath the fabric. Adjust the bobbin tension if necessary.
Upper Thread Tension: Incorrect upper thread tension can also cause looping. Ensure that the upper thread is correctly threaded through the tension discs and that the tension setting is appropriate for your fabric.
Needle Issues: A bent or dull needle can lead to looping. Make sure you are using the right needle for your fabric, and replace it if needed.
Thread Quality: Low-quality or old threads can cause issues. Use good quality thread and ensure it’s not tangled or knotted.
Bobbin Placement: Ensure the bobbin is correctly placed in the bobbin case and that it’s wound evenly.
Thread Path: Make sure the upper thread follows the correct path as indicated in your sewing machine’s manual.
Clean and Oil: Regularly clean and oil your machine to prevent lint buildup, which can affect the tension and stitching.
Machine Maintenance: If none of the above steps solve the issue, your sewing machine may need professional servicing to address any mechanical problems.
Conclusion
In Conclusion, Adjusting a sewing machine is a skill that every sewing enthusiast should master. It not only enhances the quality of your work but also prolongs the life of your machine.
With the right adjustments and regular maintenance, you can enjoy a seamless sewing experience and produce beautiful, professional-quality projects.

Hi, I am Alice, and I am your perfect guide to the world of sewing machines. With over 10 years of experience in the sewing industry, I am passionate about sharing my knowledge and expertise to help you make the most of your sewing journey. about me